Windows 7/8.1 Upgrade to 10
In this tutorial, we will show you how to perform an upgrade from Windows 7 or 8 to Windows 10.
To do this you will need:
- A PC that has Windows 7 Home, Professional or Ultimate
- A PC that has Windows 8.1 Standard or Pro
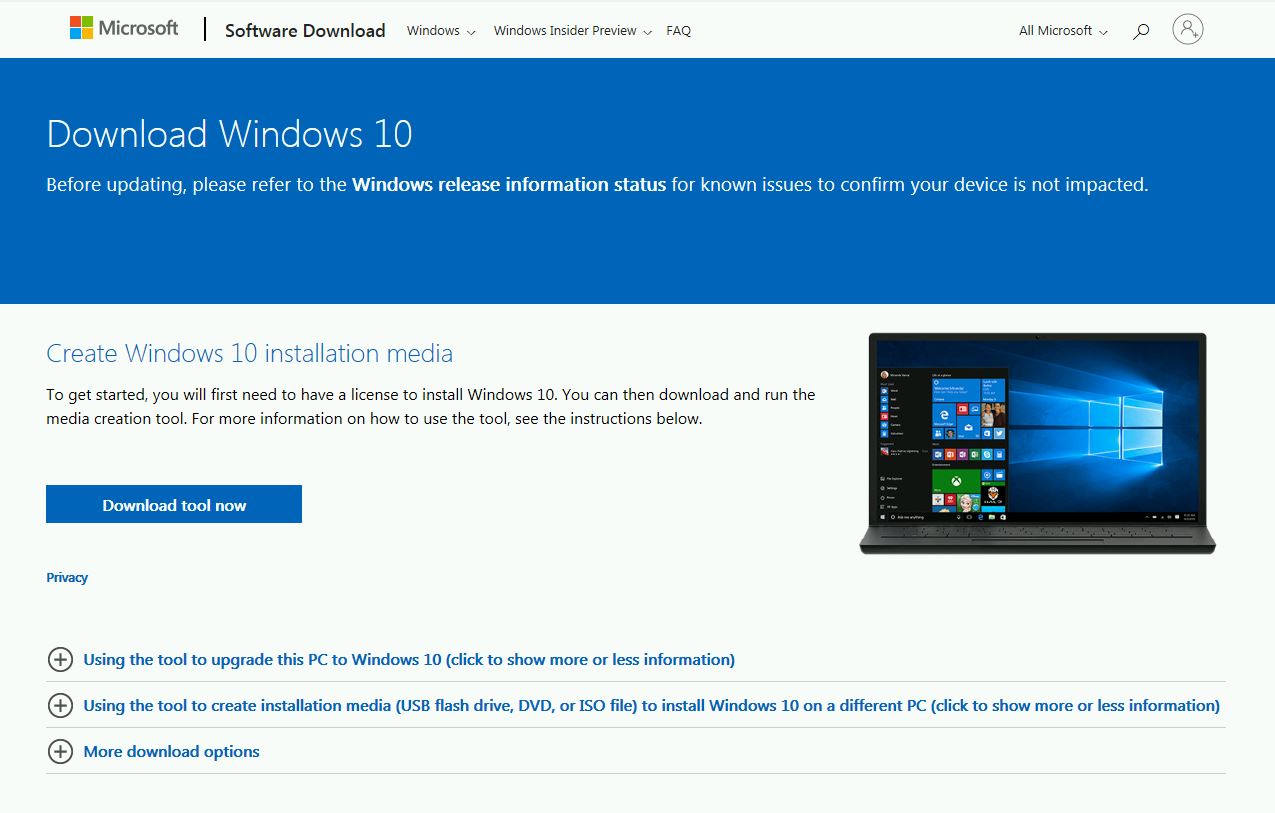
1. Download Microsoft creation tool Download Here
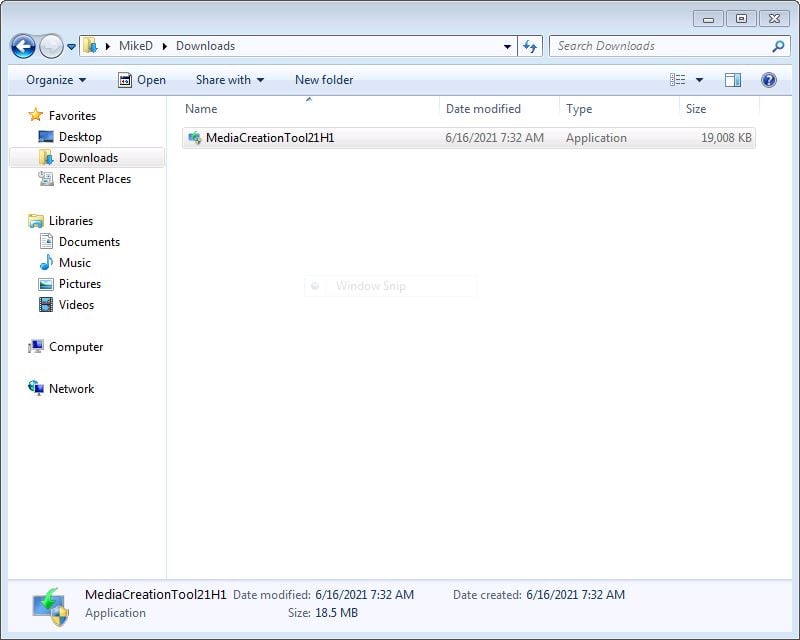
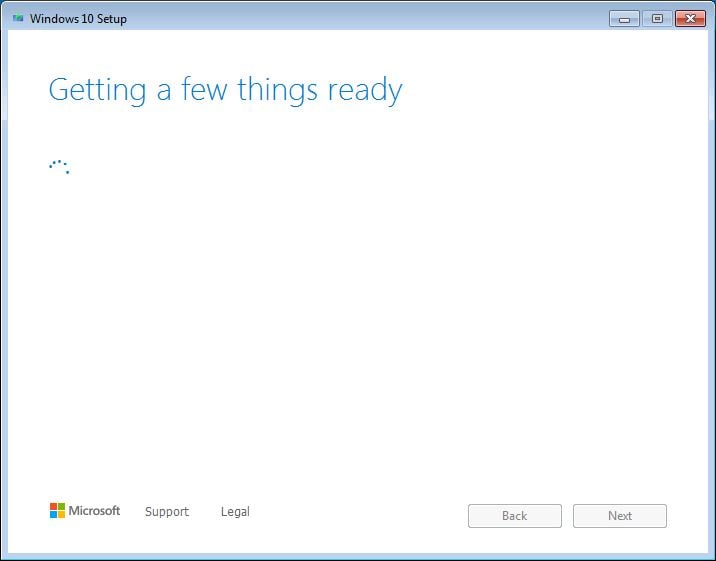
2. Open Microsoft Creation tool
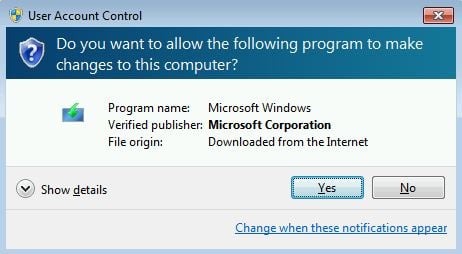
3. Click on Yes
4. Upgrade process might take a while depending on your internet speed and computer’s hardware
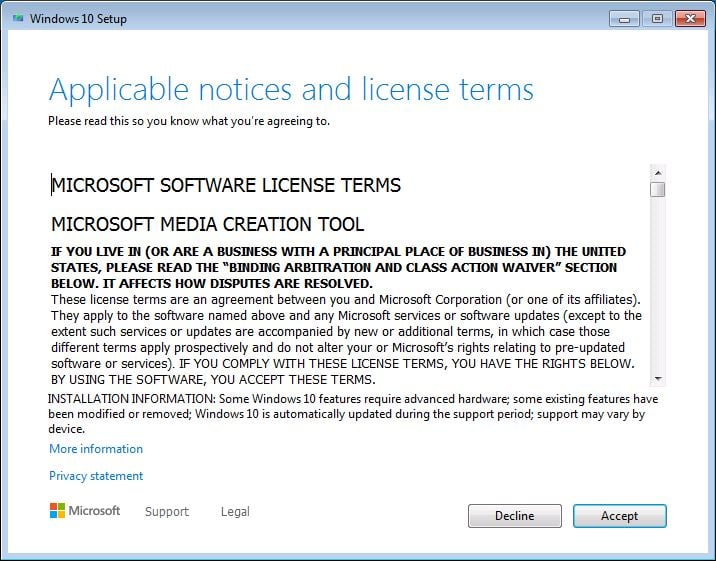
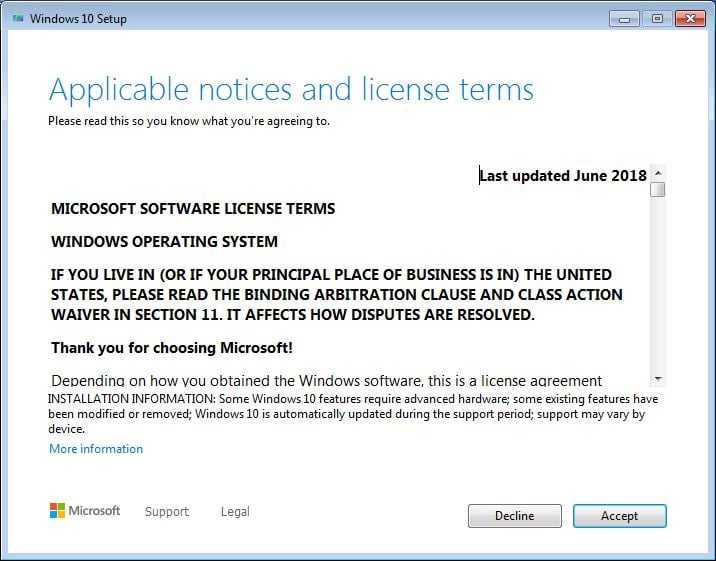
5. Accept License Terms
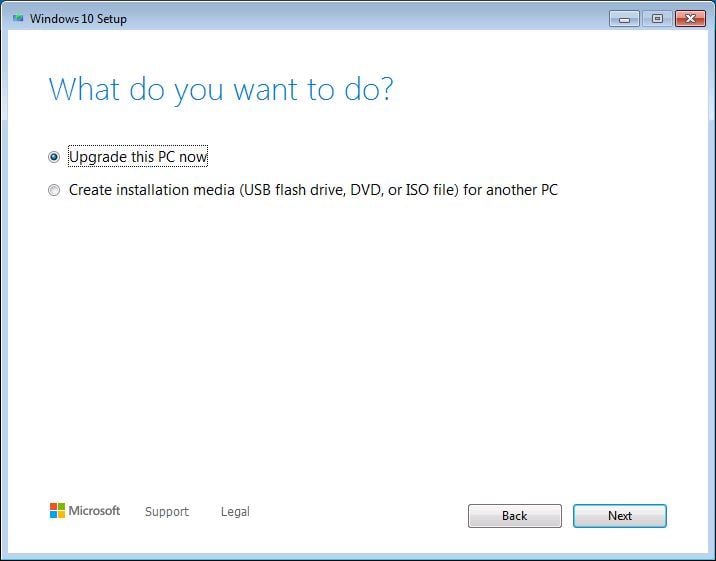
6. Select Upgrade this PC now and click on Next
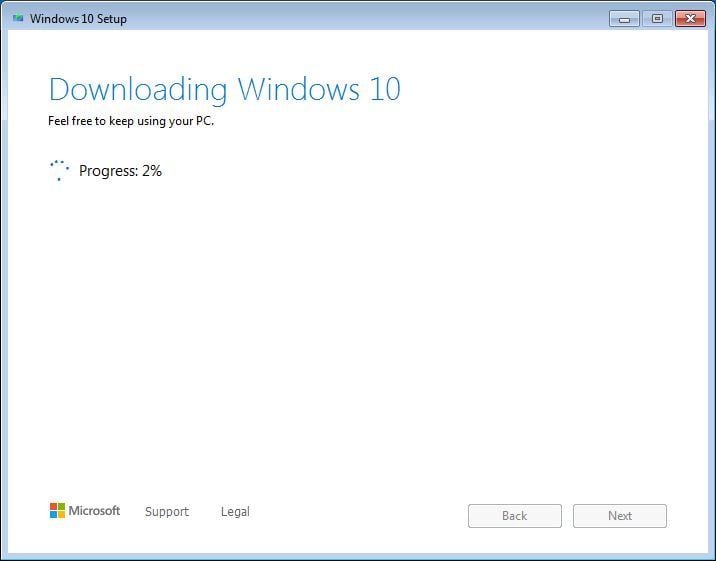
7. Download process is based on your internet speed
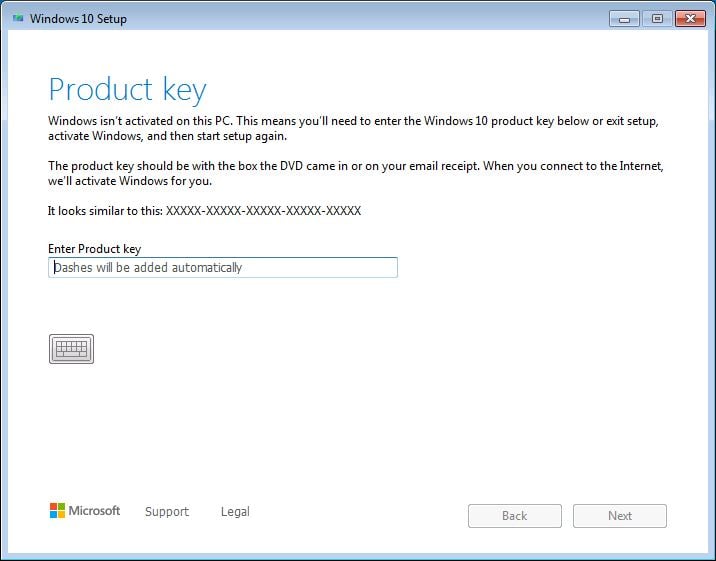
8. Enter the product key and click on Next – if you don’t have a key get one here: shop.recycled-software.com/product-category/windows/windows-10
9. Accept License Terms
10. Click on Choose what to keep
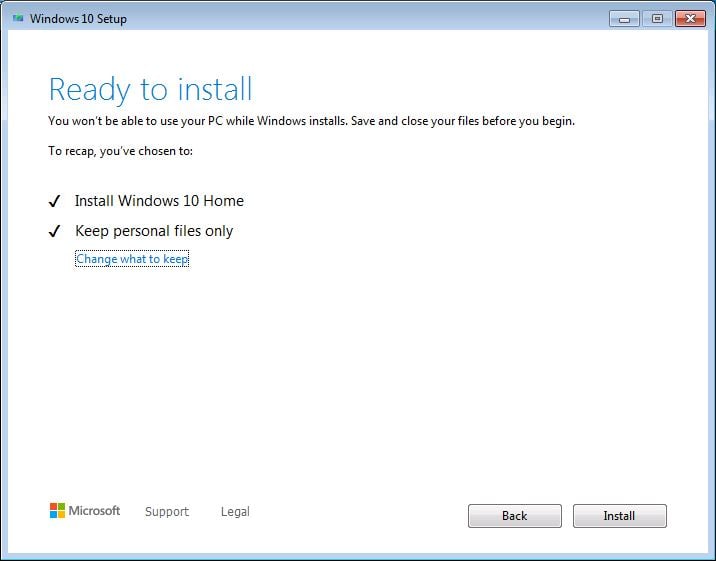
11. Select what would you like to keep during this upgrade process
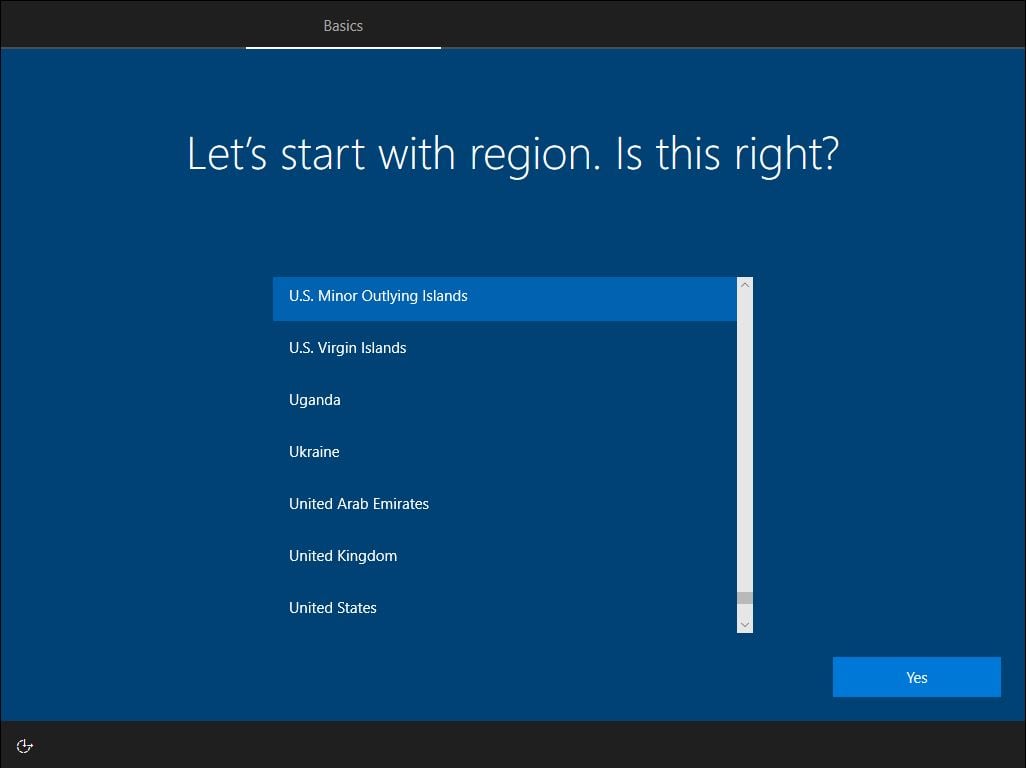
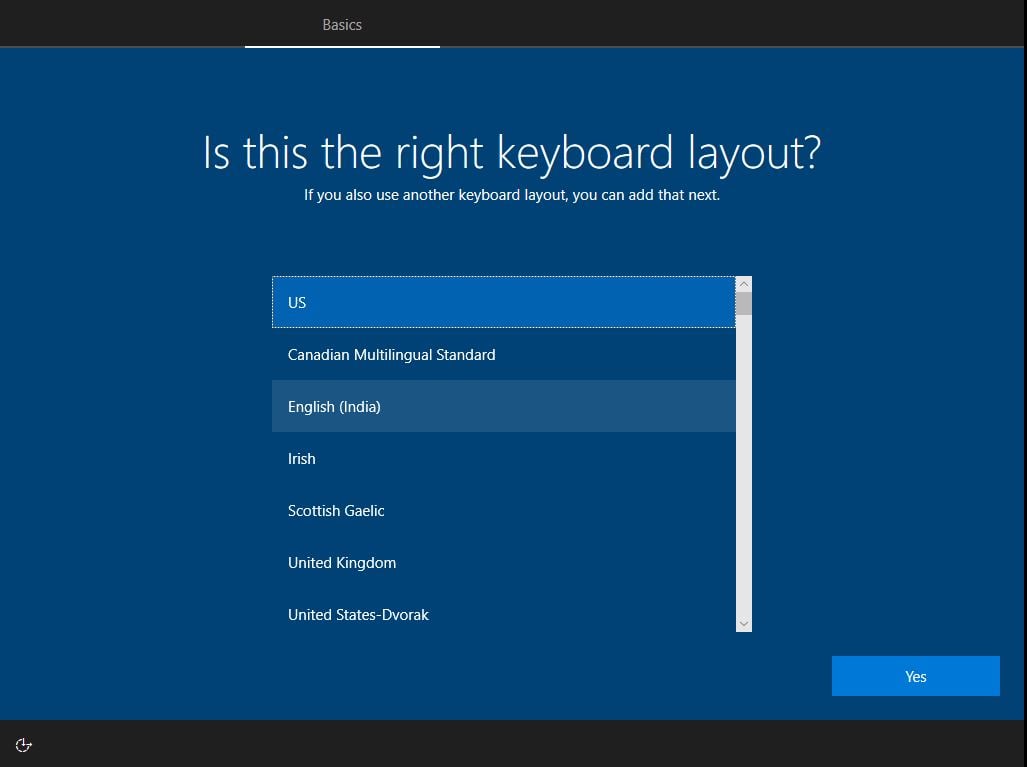
12. Select your keyboard layout and click “Yes”.
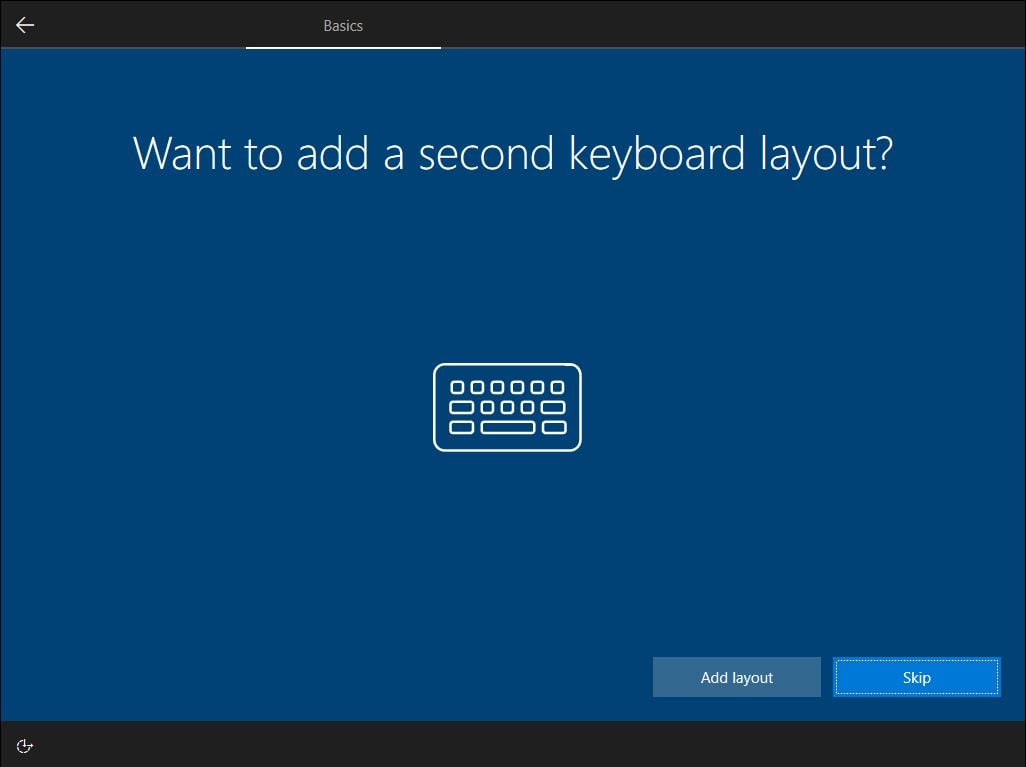
13. If you want to select a second keyboard layout you can do it now, if not click “Skip”.
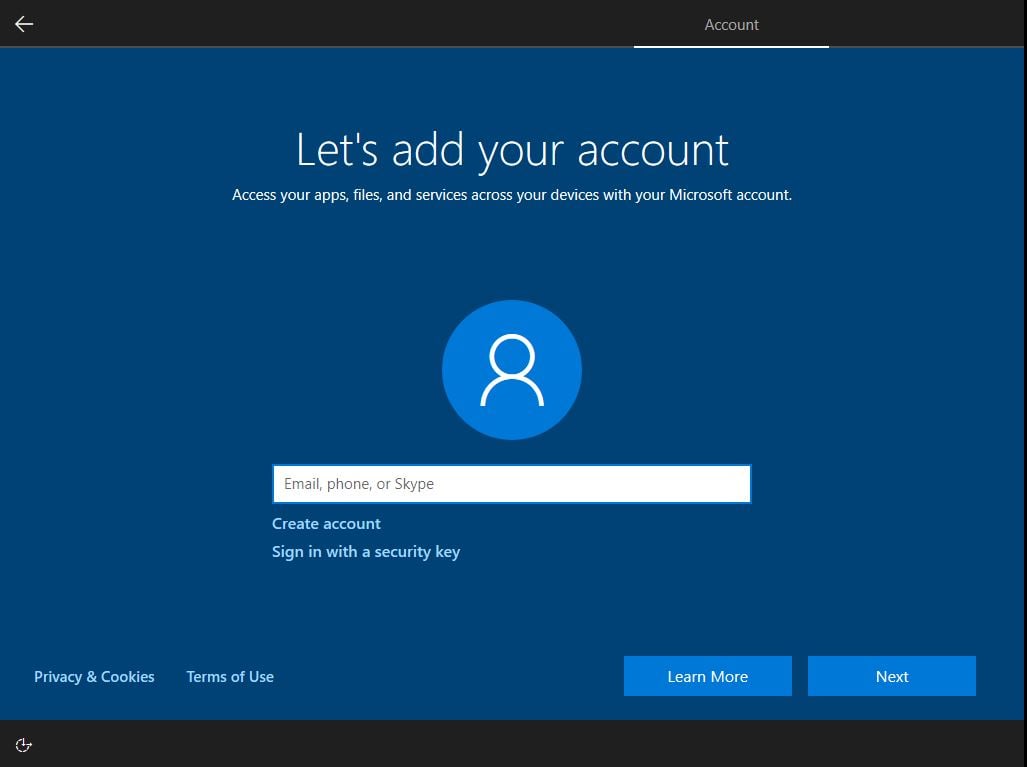
14. Now the installer will ask you to sign in to your Microsoft account.
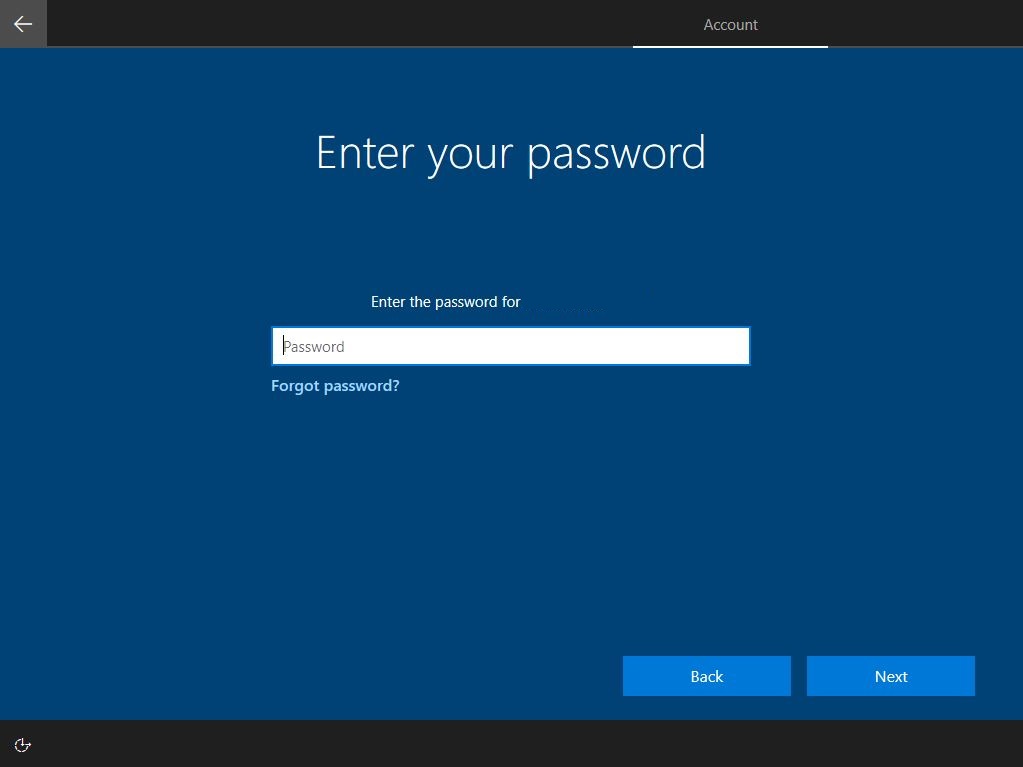
15. Enter the password to your Microsoft account.
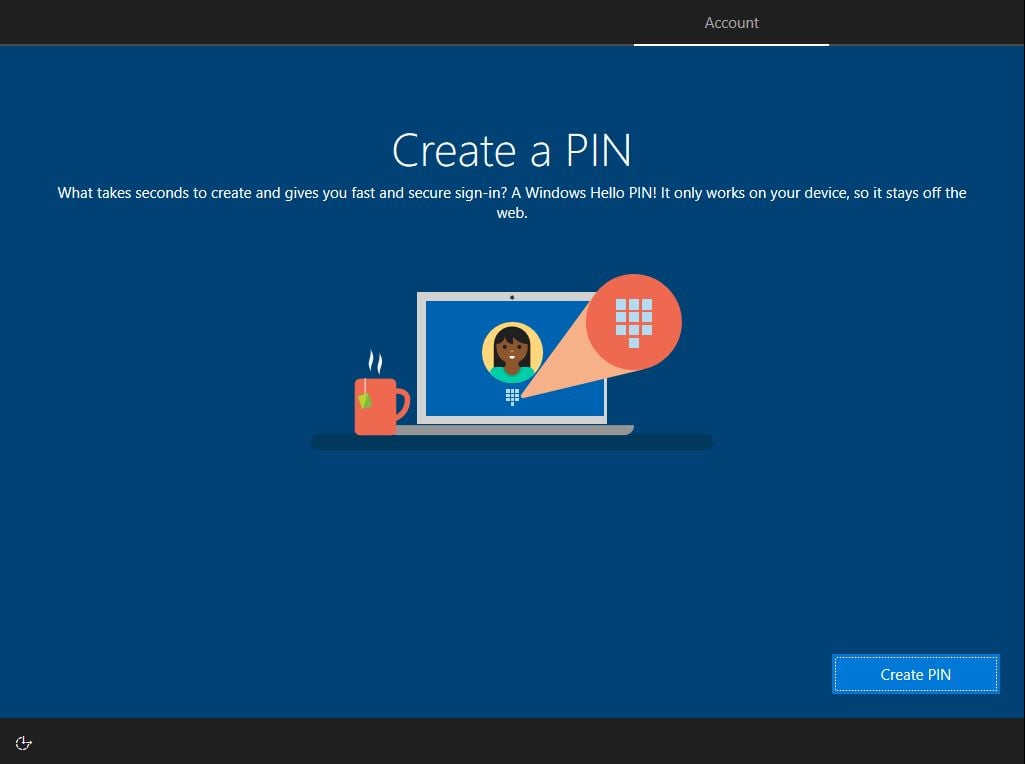
16. Click “Create PIN” you will be able to use it as an administrator’s password for your computer.
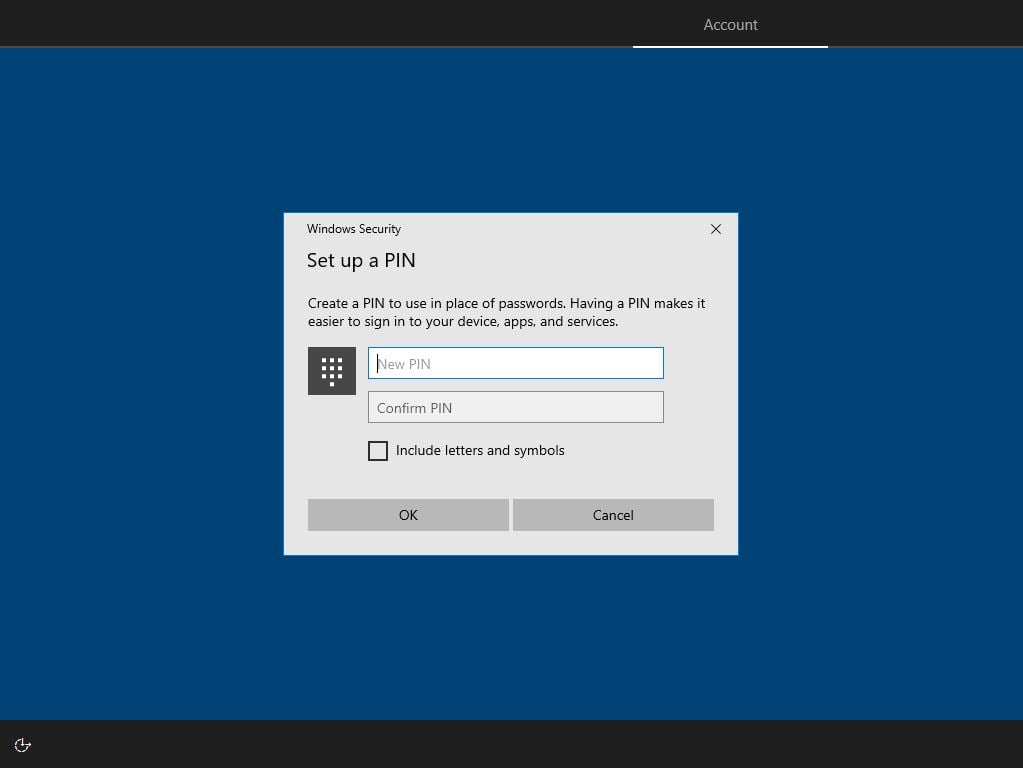
17. Create a PIN.
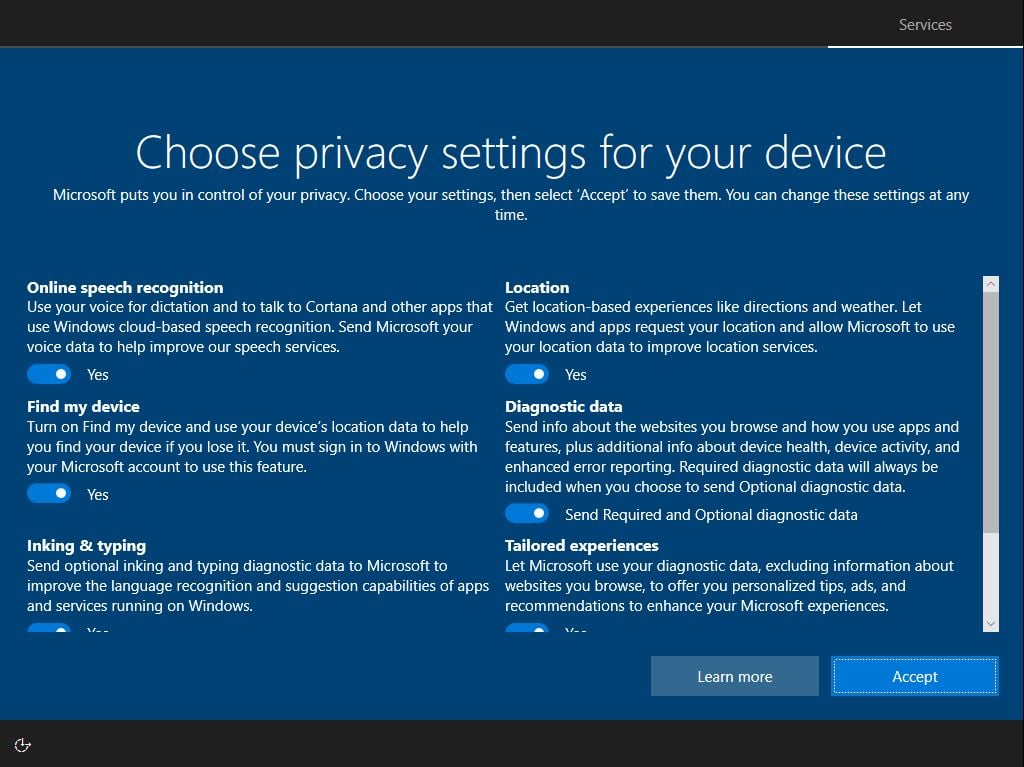
18. Choose privacy settings.
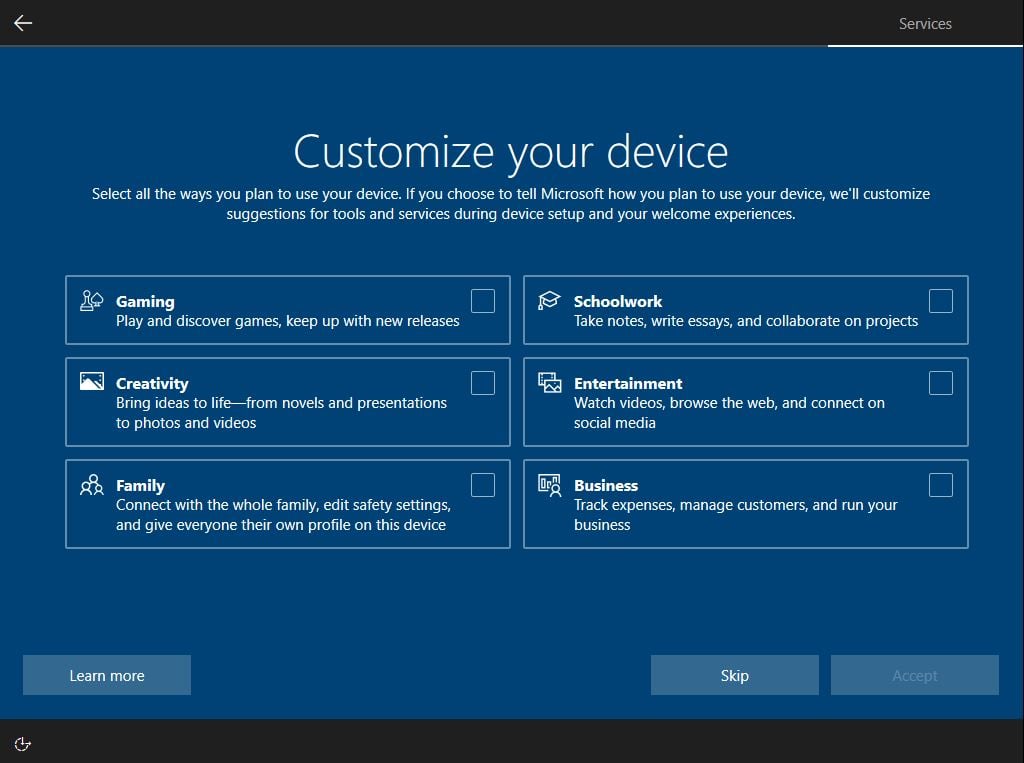
19. Customize device. You can set it up later by clicking on “Skip”
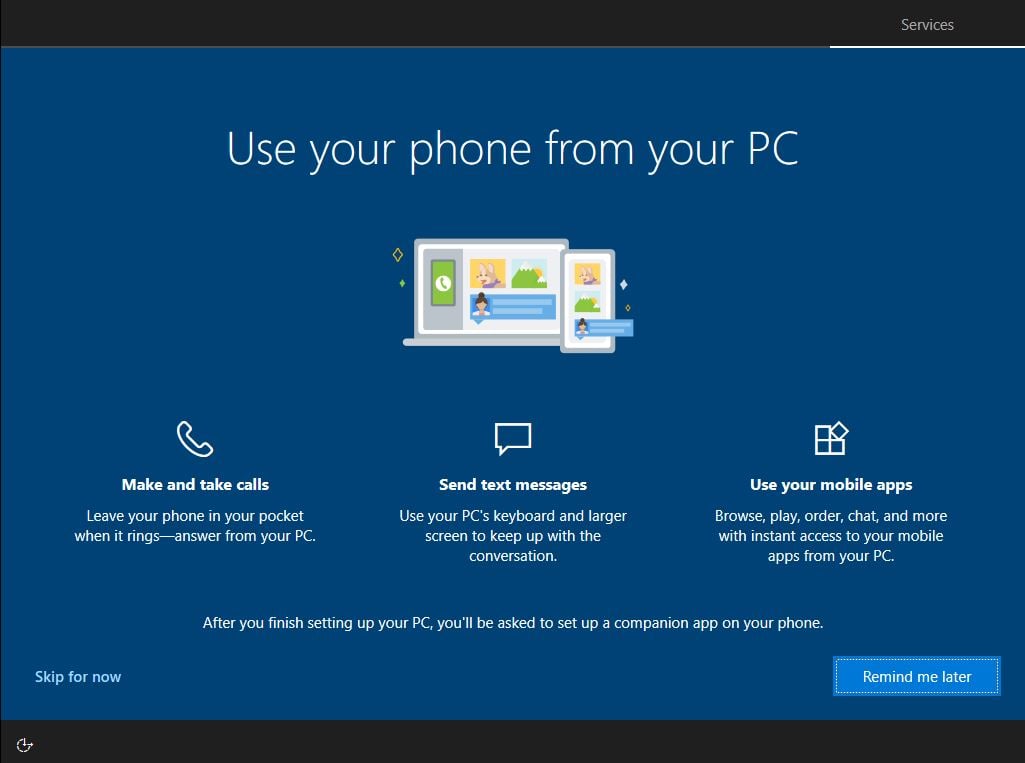
20. Link your phone. You can set it up later by clicking on “Skip for now”
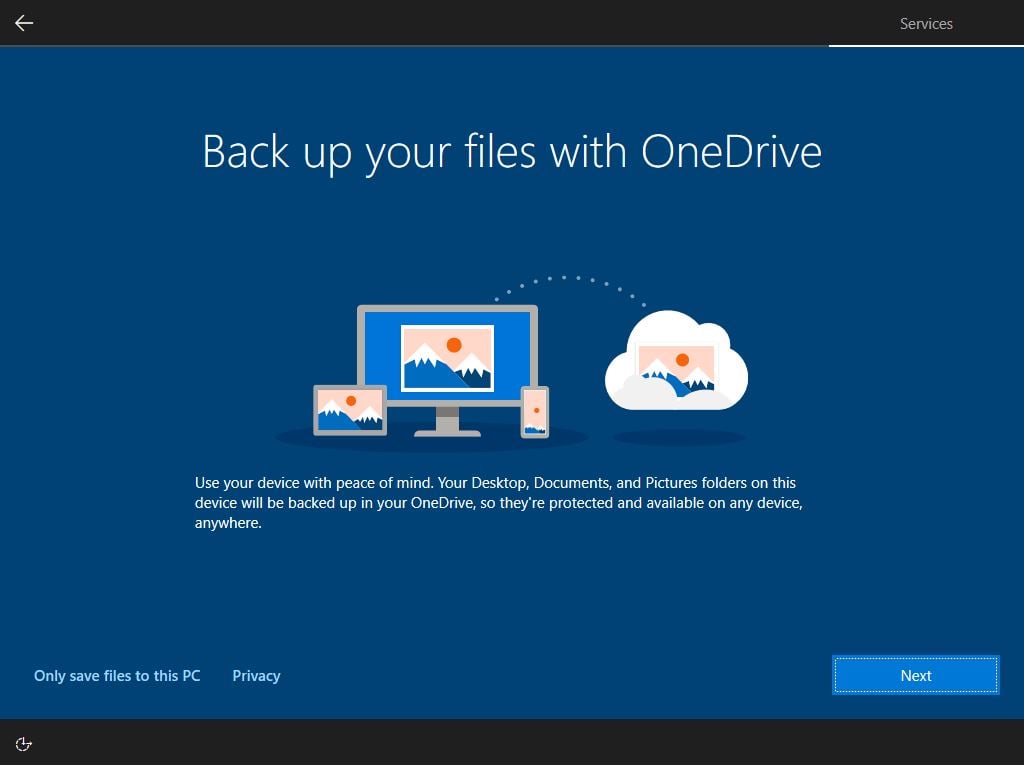
21. Cloud backups. You can set it up later by clicking on “Only save files to this PC”
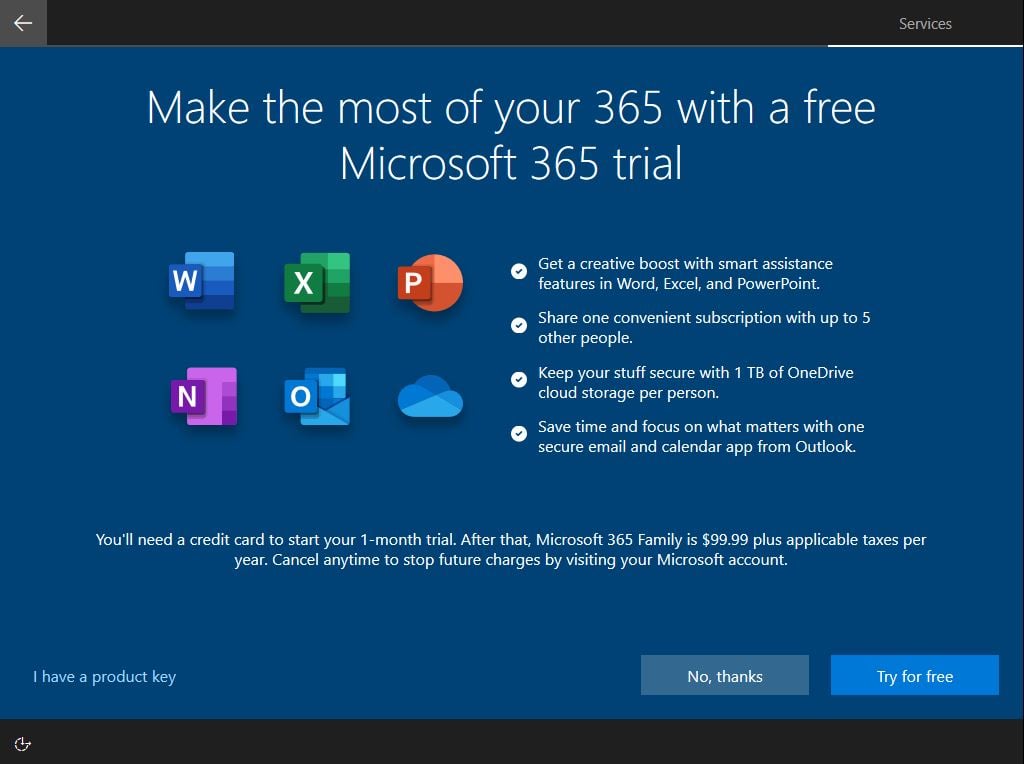
22. Microsoft 365 subscription offer. You can set it up later by clicking on “No, thanks”
23. Gamers’ offer. You can set it up later by clicking on “No thanks”

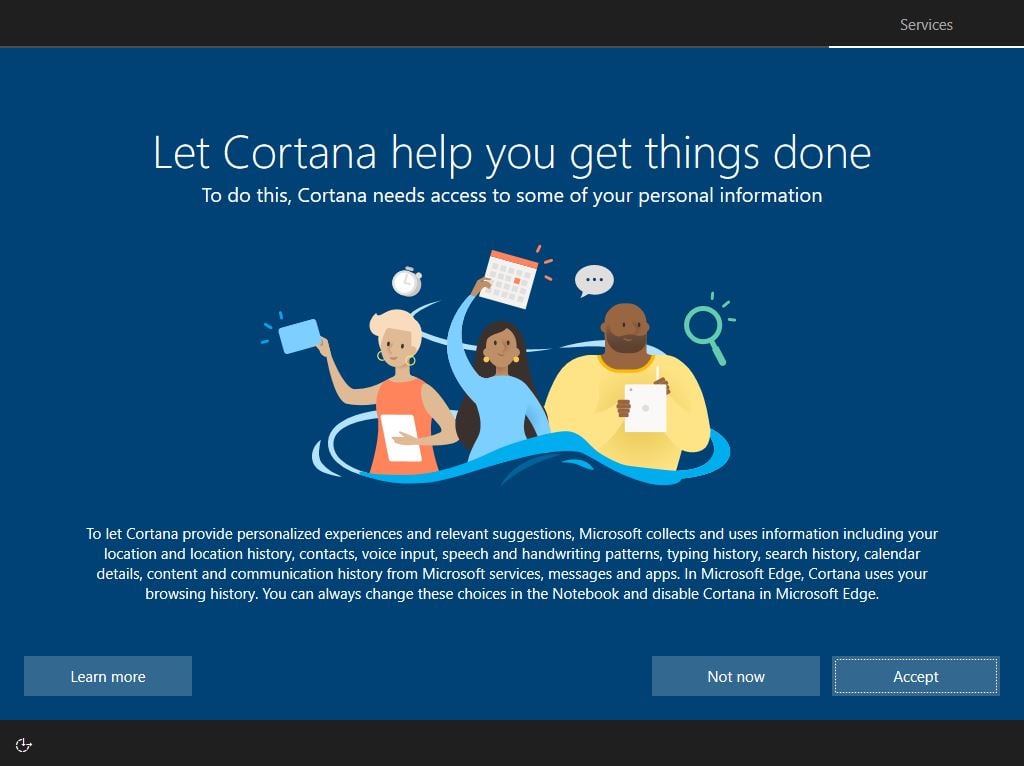
24. Enable/disable Cortana. You can set it up later by clicking on “Not now”
25. All set! Congratulations