Windows 10 clean install step-by-step printable guide
In this tutorial, we will show you how to perform a clean installation of Windows 10. This method will install new Windows and remove everything from your PC.
To do this you will need:
- Windows 10 installation USB
- A PC that can boot from USB and is compatible with Windows 10
1. After you have created a bootable USB for installation you need to boot your computer from it. By using your computer’s Boot Menu or BIOS/UEFI setup utility (by setting USB as the primary boot device).
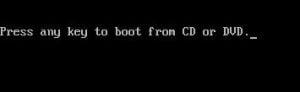
2. If you set up the boot correctly the installer might prompt you to press any key to start the setup.
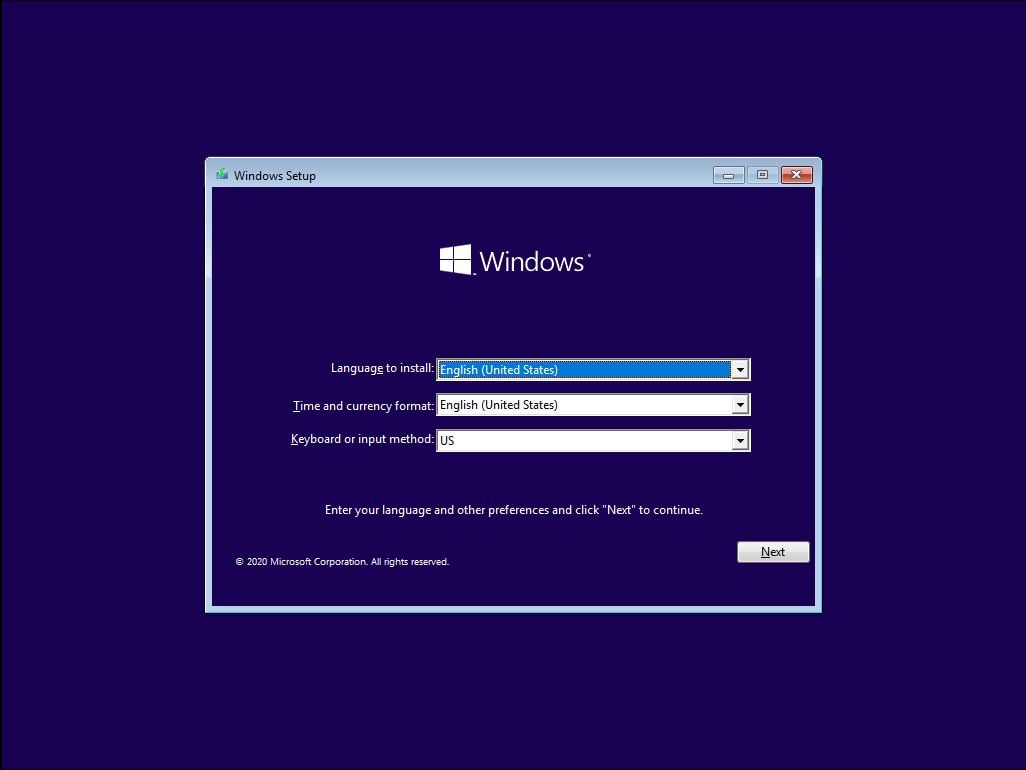
3. Select Language, Time and currency format and input method and press “Next”.
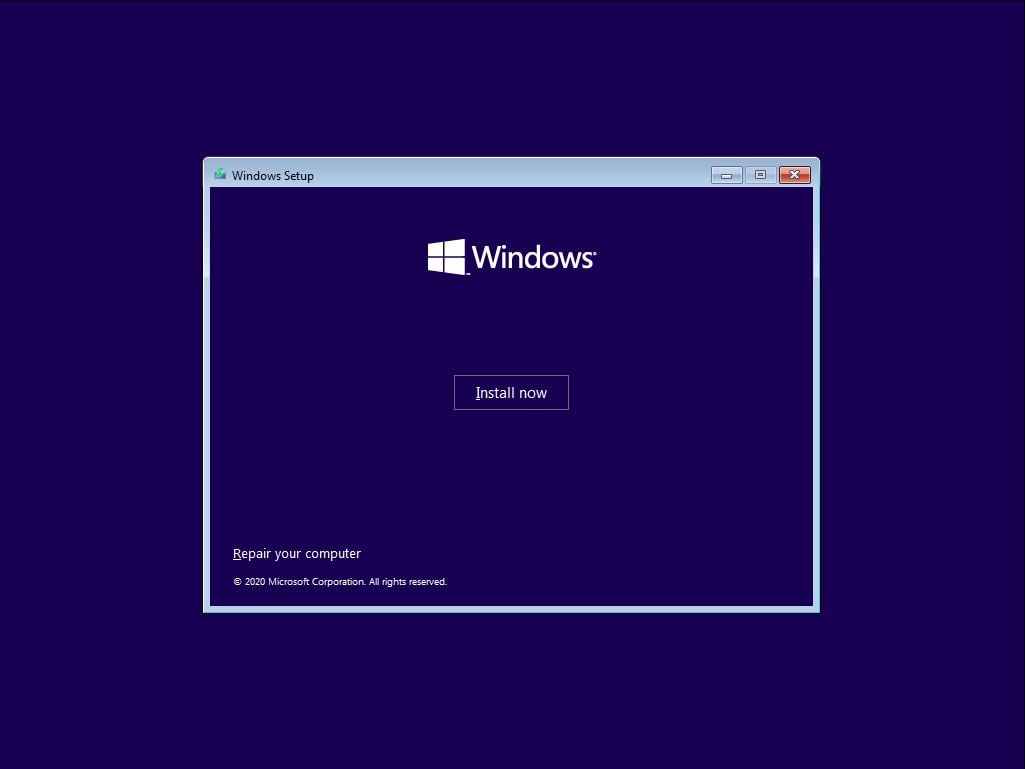
4. Click “Install now”.
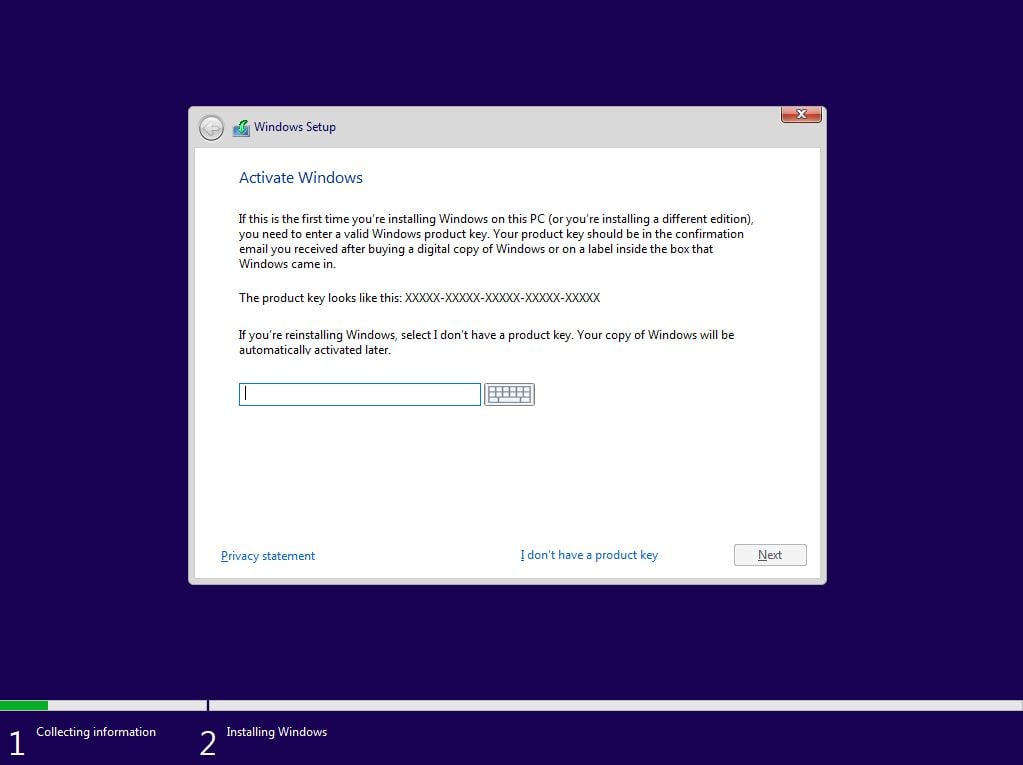
5. Enter your product key and click “Next”. If you want you can skip this step and enter the license later by clicking “I don’t have a product key” at the bottom. If you need a key right now, we sell budget priced, fully legal recycled product license keys
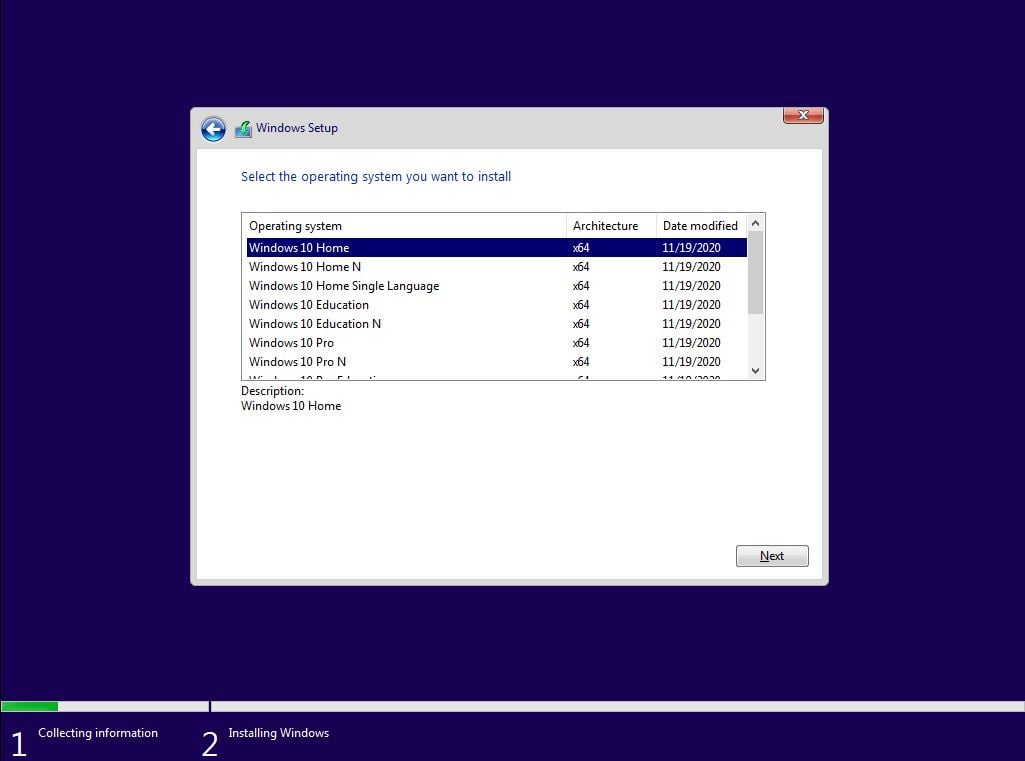
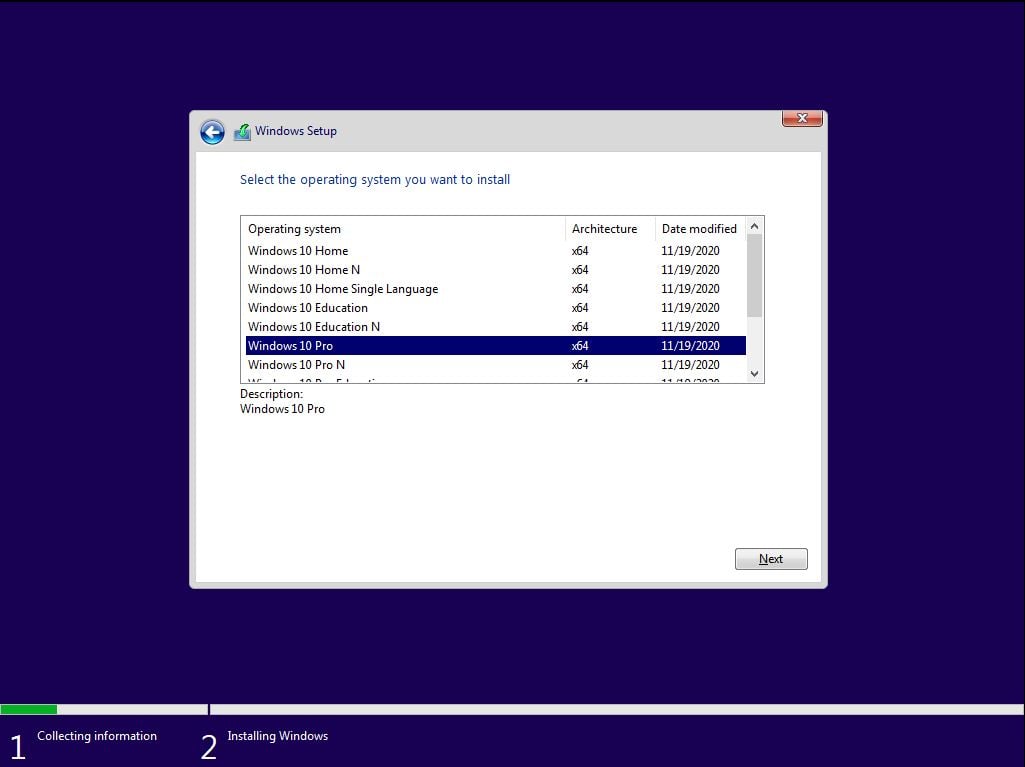
6. If you have entered the license in the previous step please proceed with step 7. If you clicked on “I don’t have a product key” you need to select the edition of Windows that you want to install. Keep in mind to select the proper version of Windows such as Home or Pro do not select any other version and click “Next”.
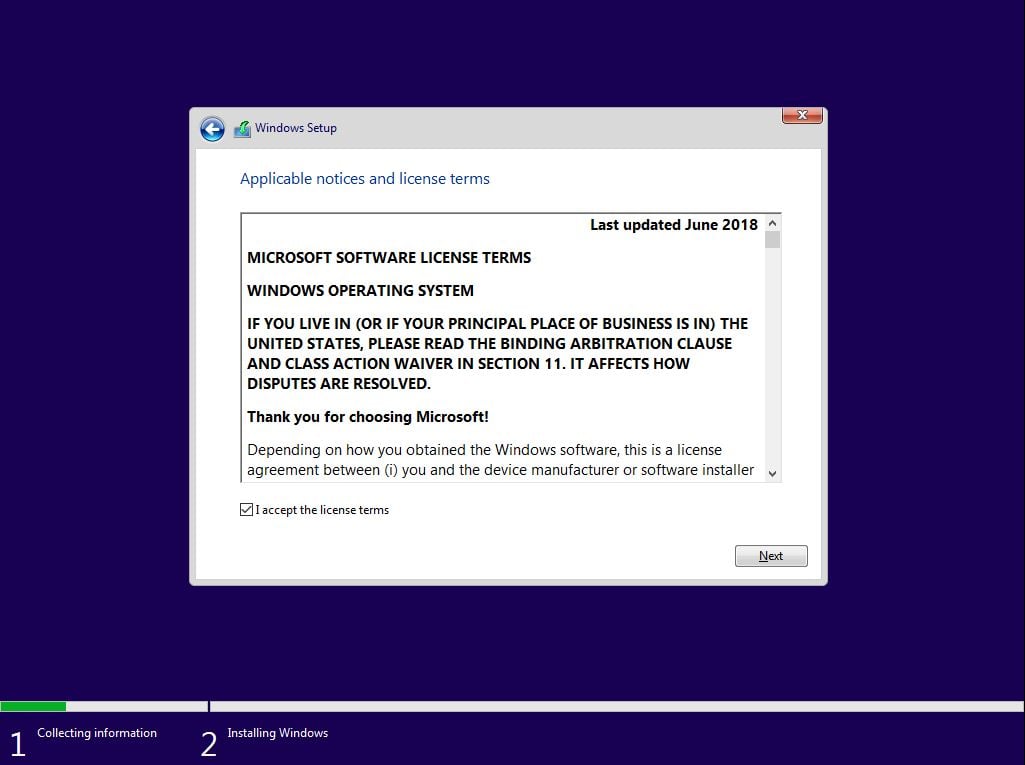
7. Now accept the license terms and click “Next”.
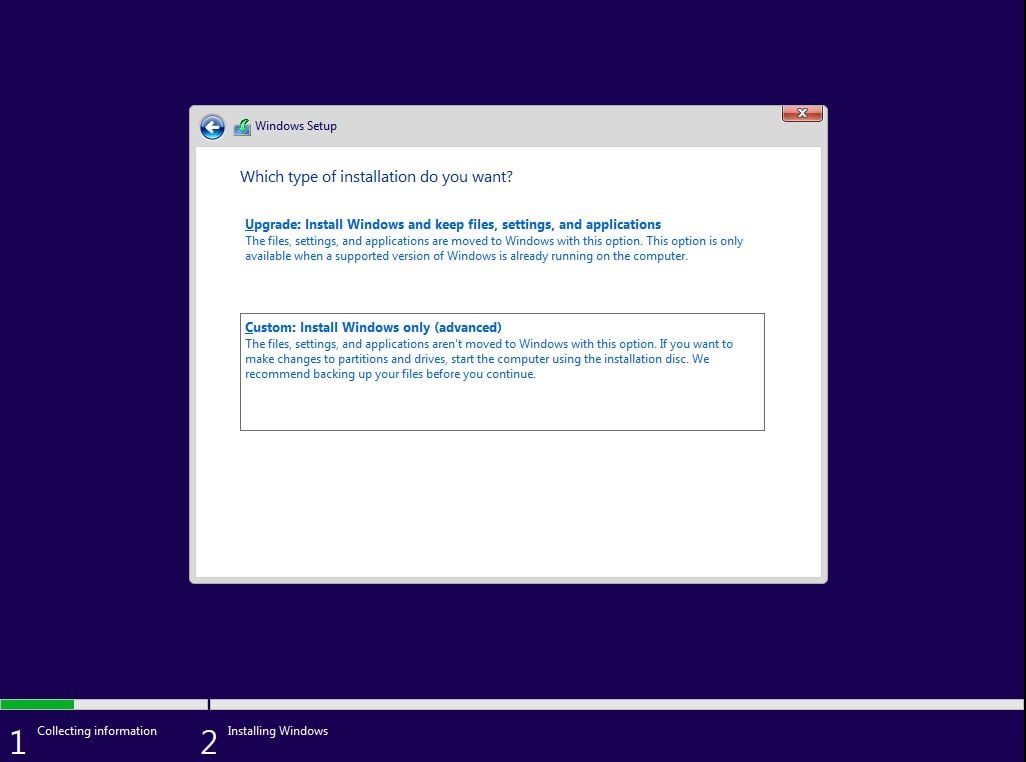
8. Because this is a Windows 10 clean install, not an upgrade, click on “Custom Install”.
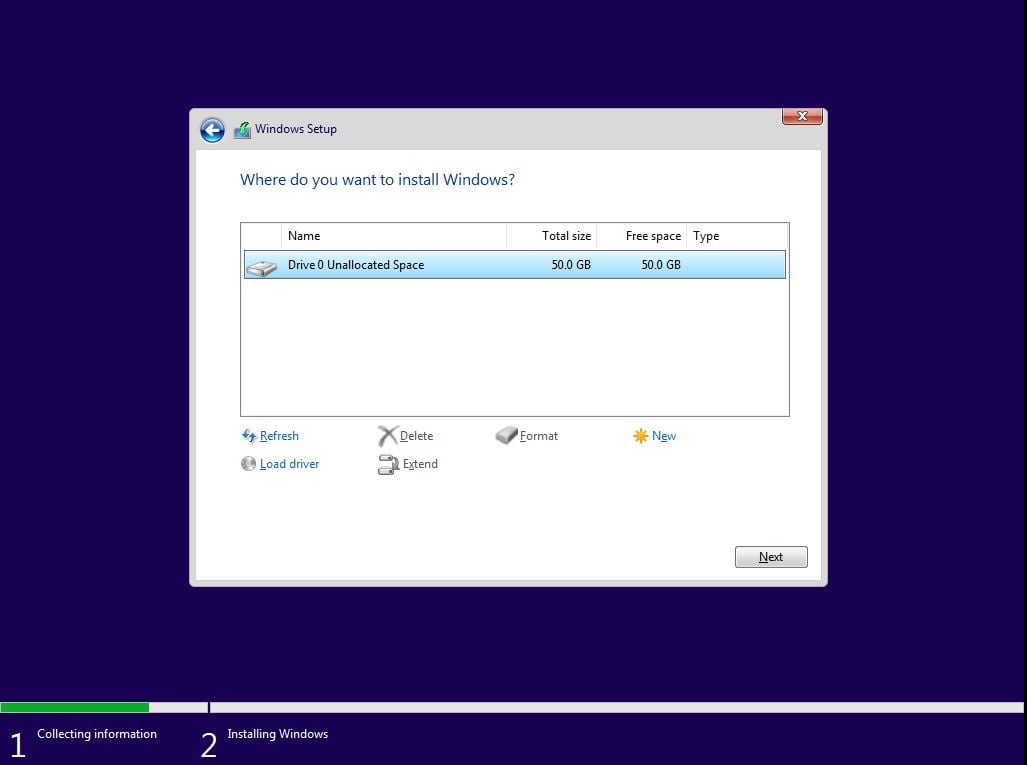
9. You will see a list of current partitions. You need to click on each partition and then click on “Delete” at the bottom. Once you delete all partitions you will be left only with “Drive 0 Unallocated Space”, highlight it, and click “Next”.
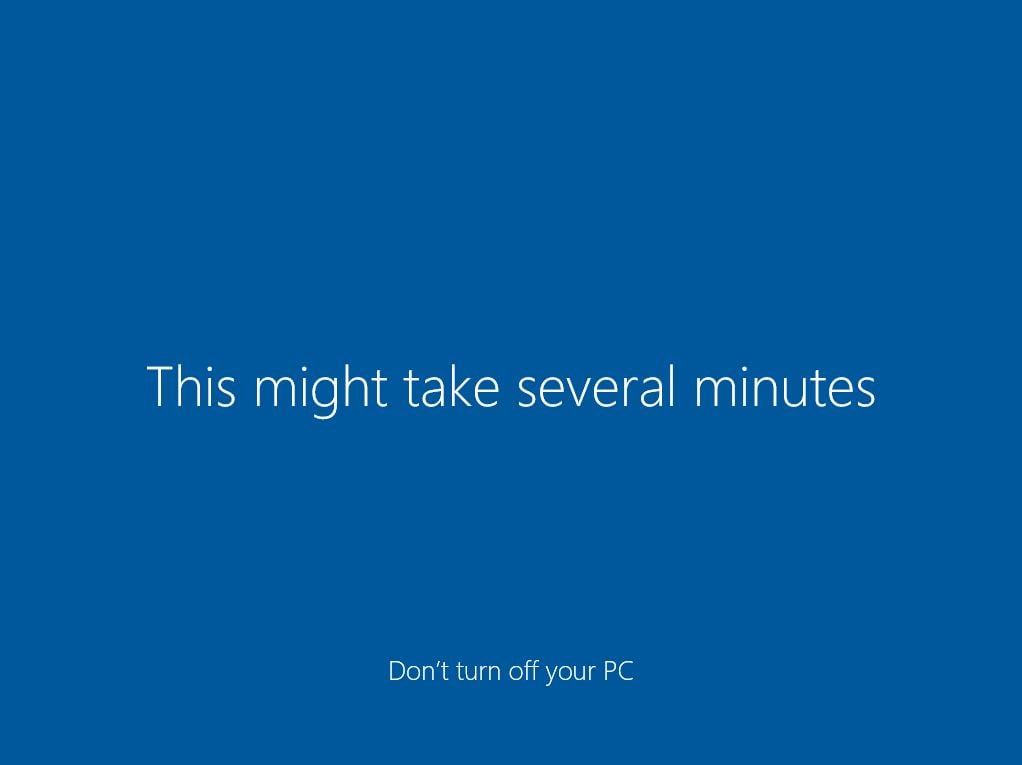
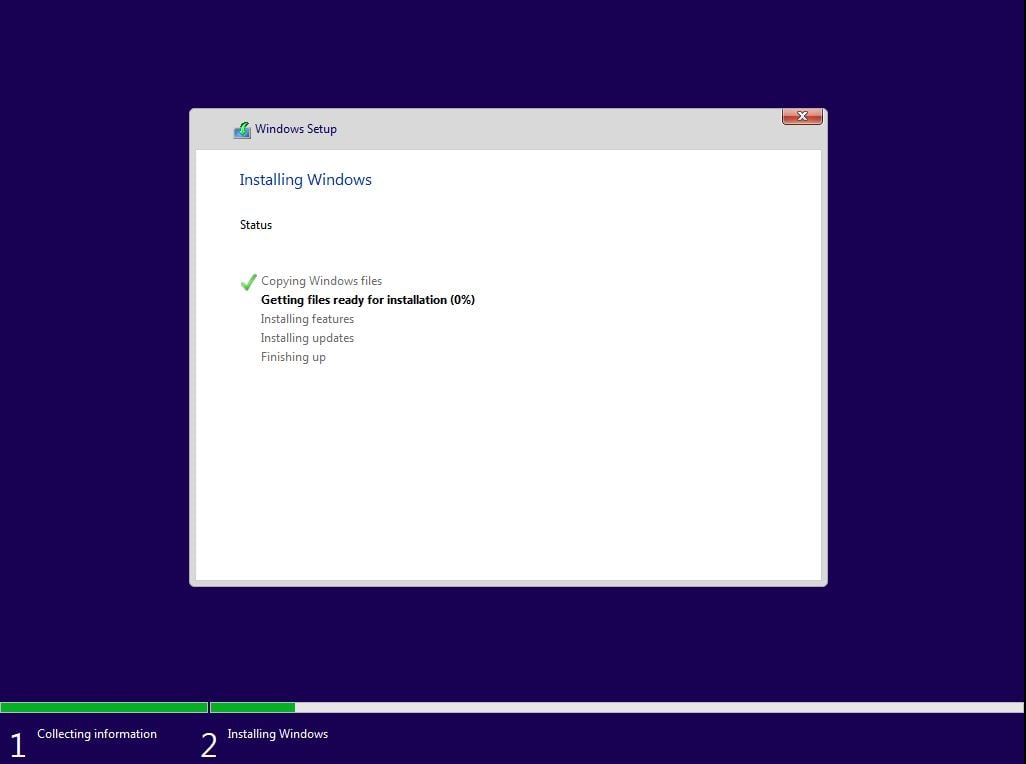
10. The installation process will start. Please make sure that if you have a laptop it is plugged into the power source. Your computer will restart at least once during this process, also it might take a while depending on your computer processing power.
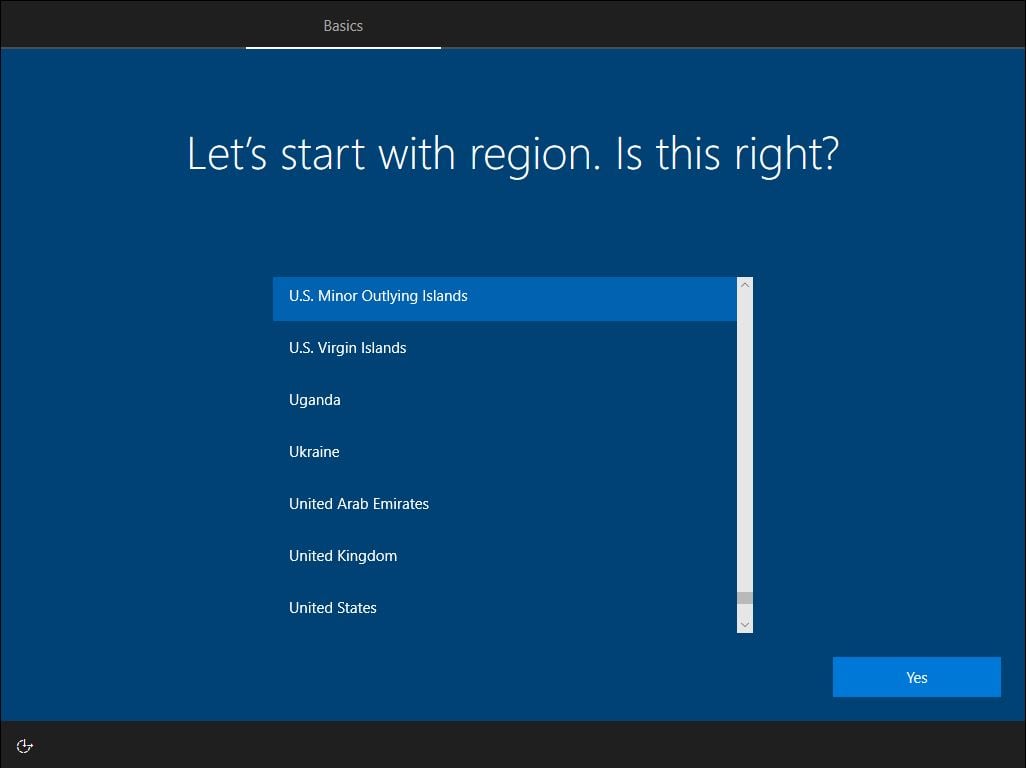
11. After reboot you will be welcomed by Cortana and will be asked to select your Country. Select it and click “Yes”.
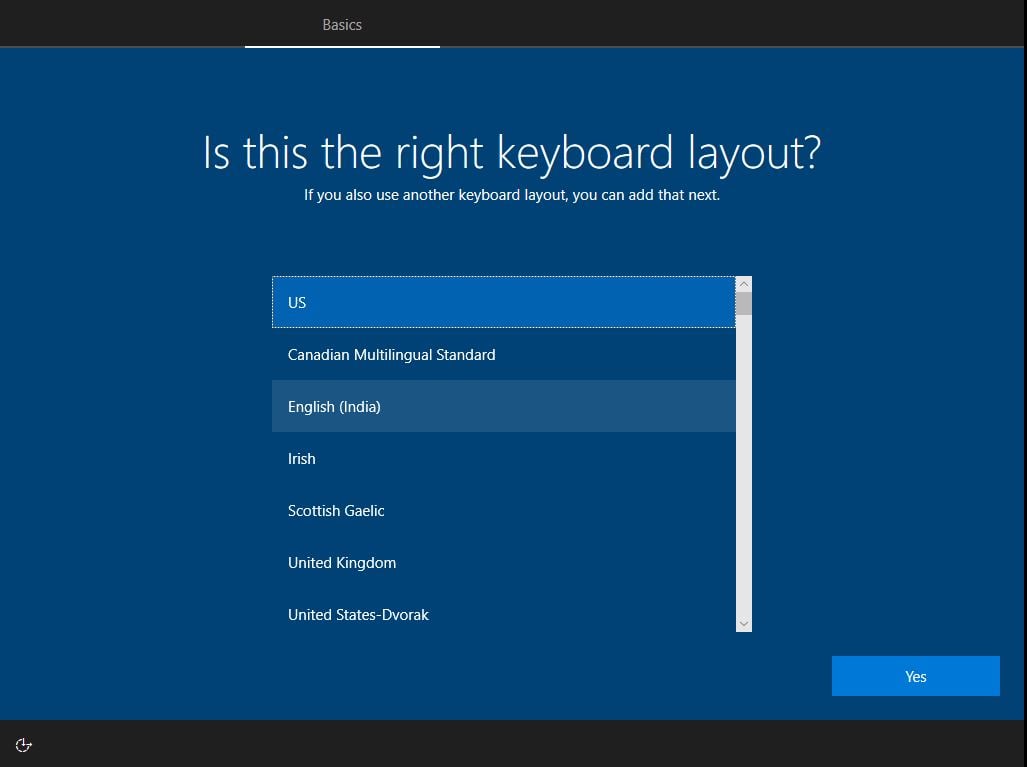
12. Select your keyboard layout and click “Yes”.
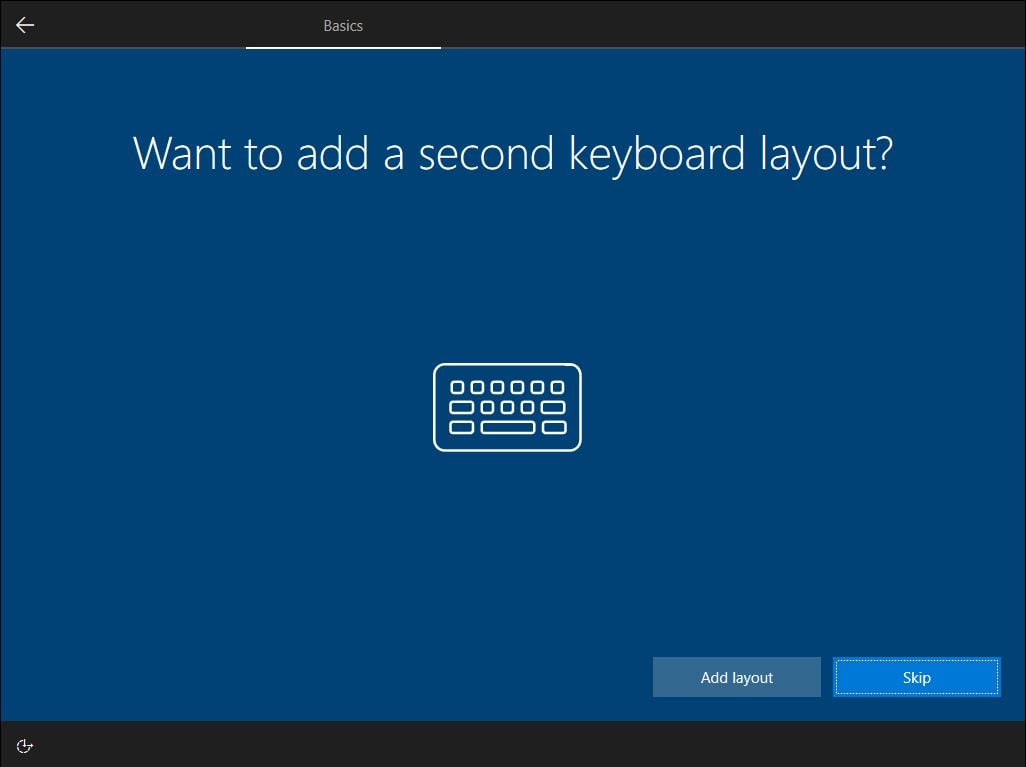
13. If you want to select a second keyboard layout you can do it now, if not click “Skip”.
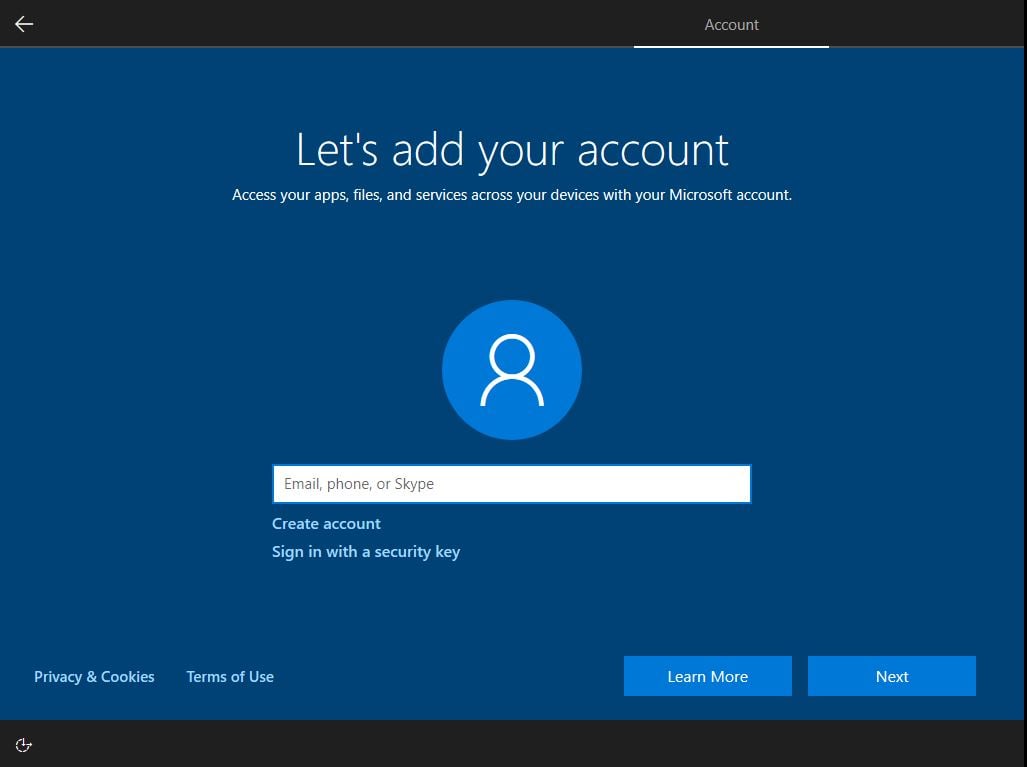
14. Now the installer will ask you to sign in to your Microsoft account.
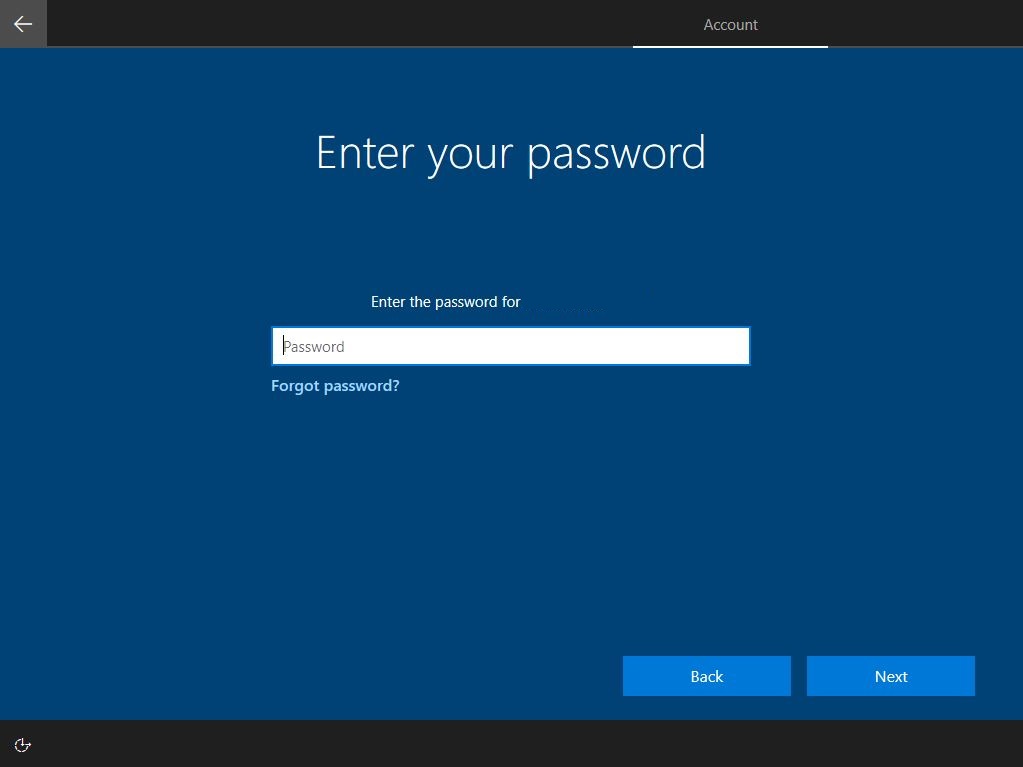
15. Enter the password to your Microsoft account.
16. Click “Create PIN” you will be able to use it as an administrator’s password for your computer.
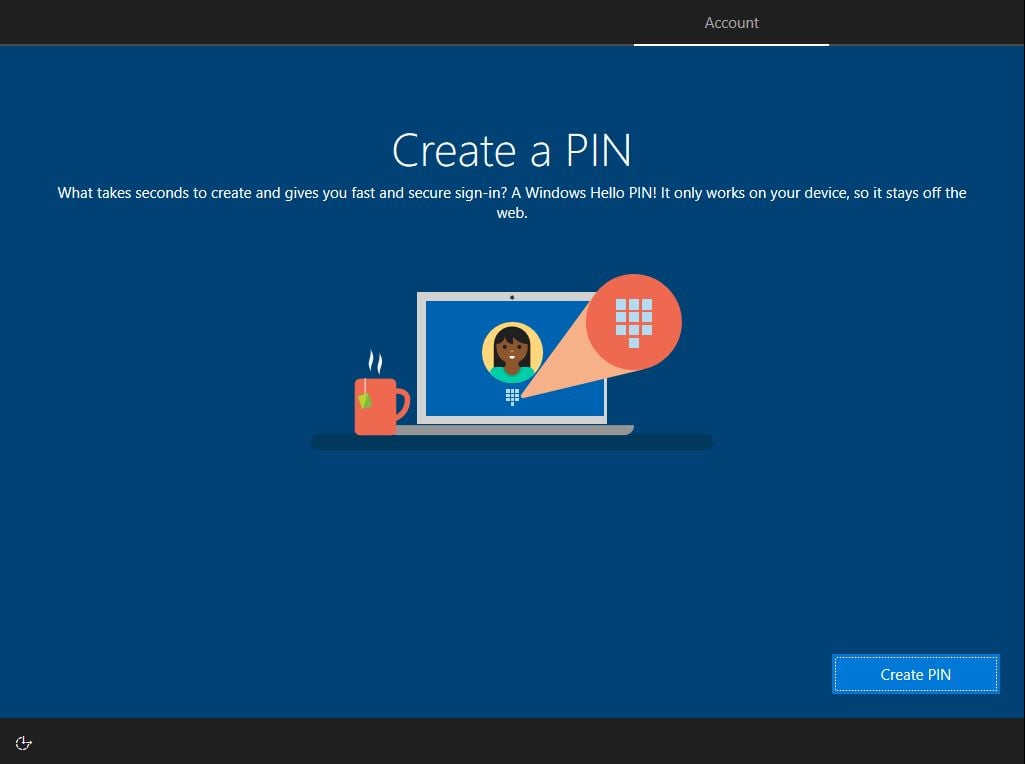
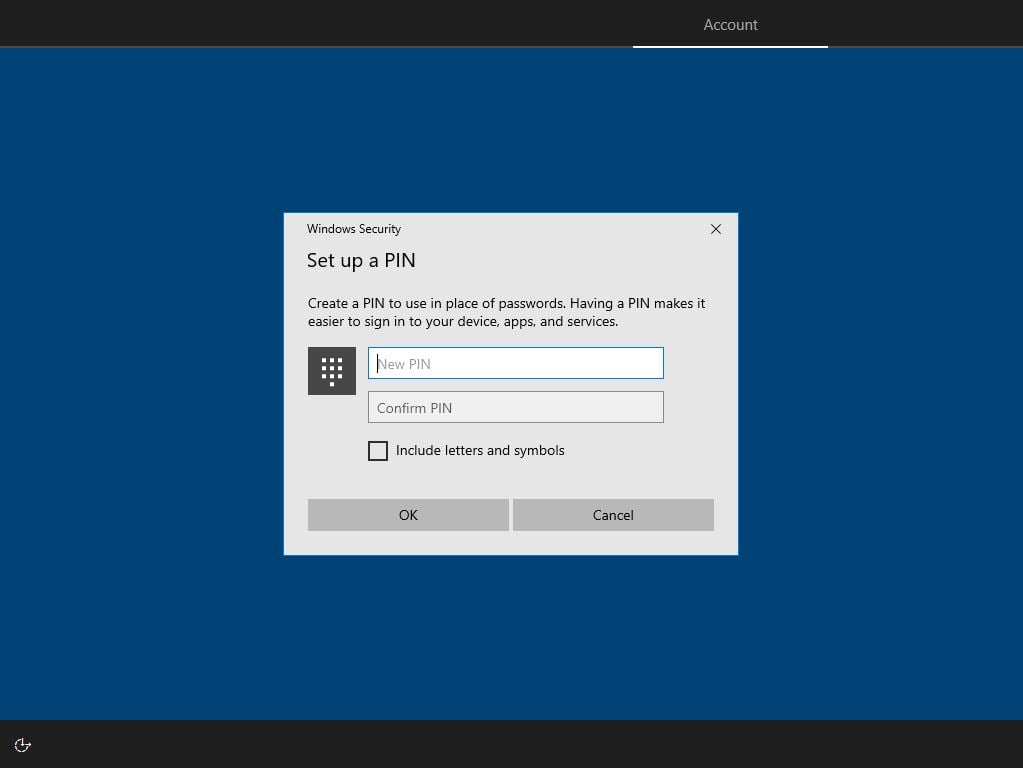
17. Create a PIN.
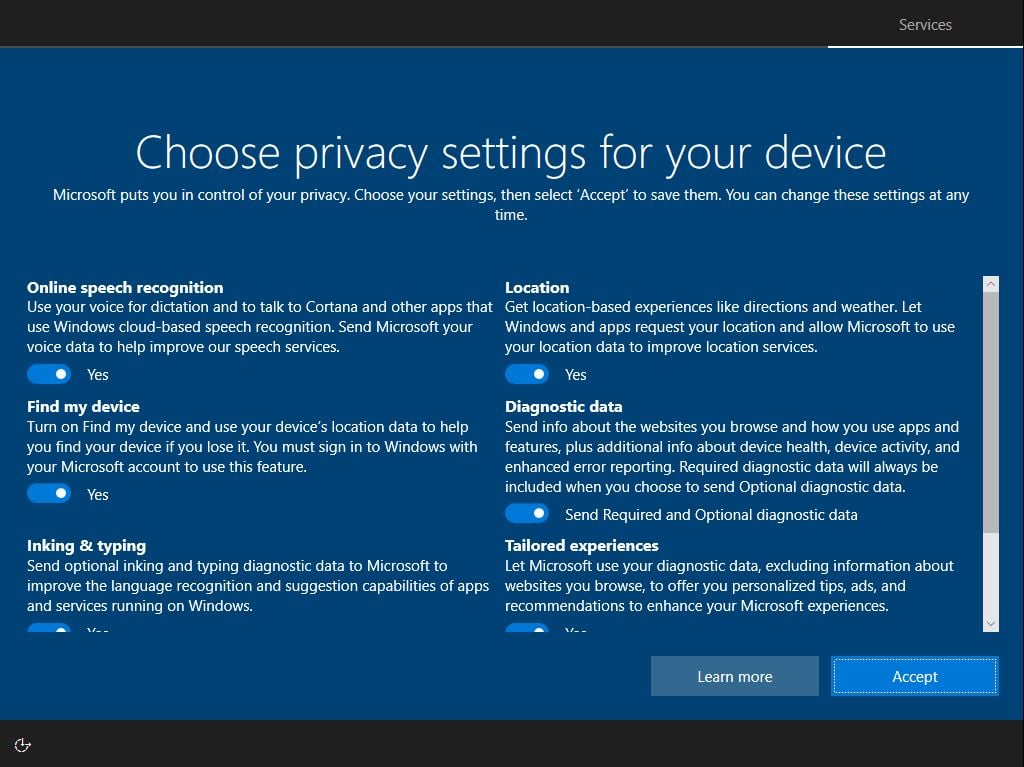
18. Choose privacy settings.
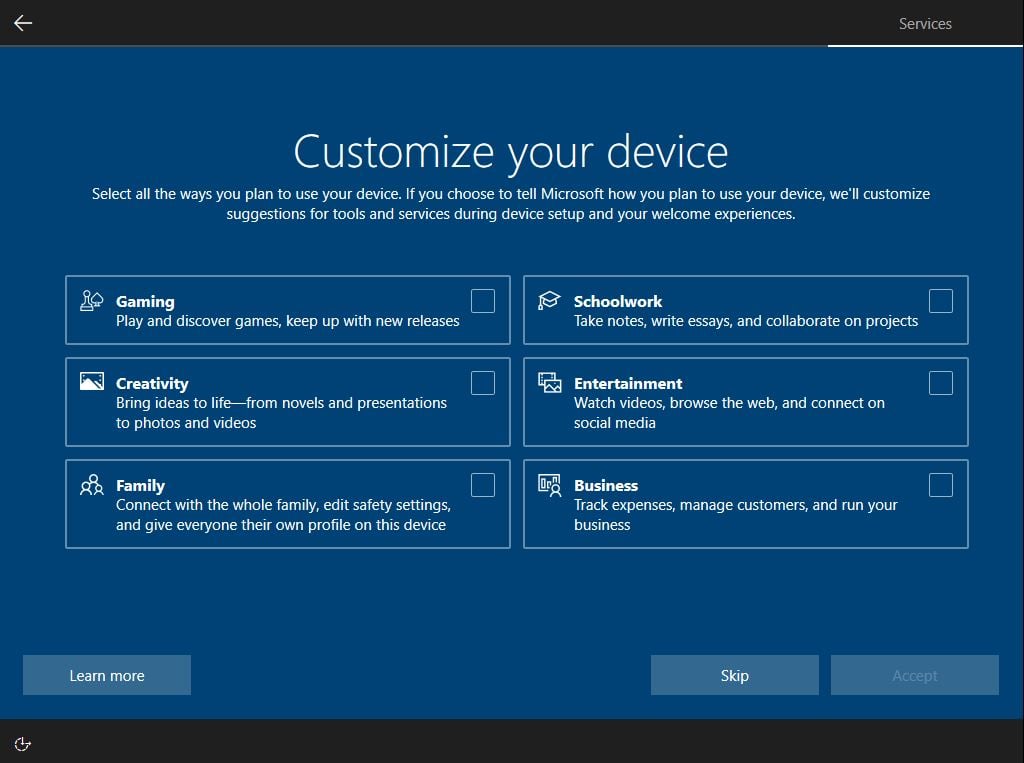
19. Customize device. You can set it up later by clicking on “Skip”
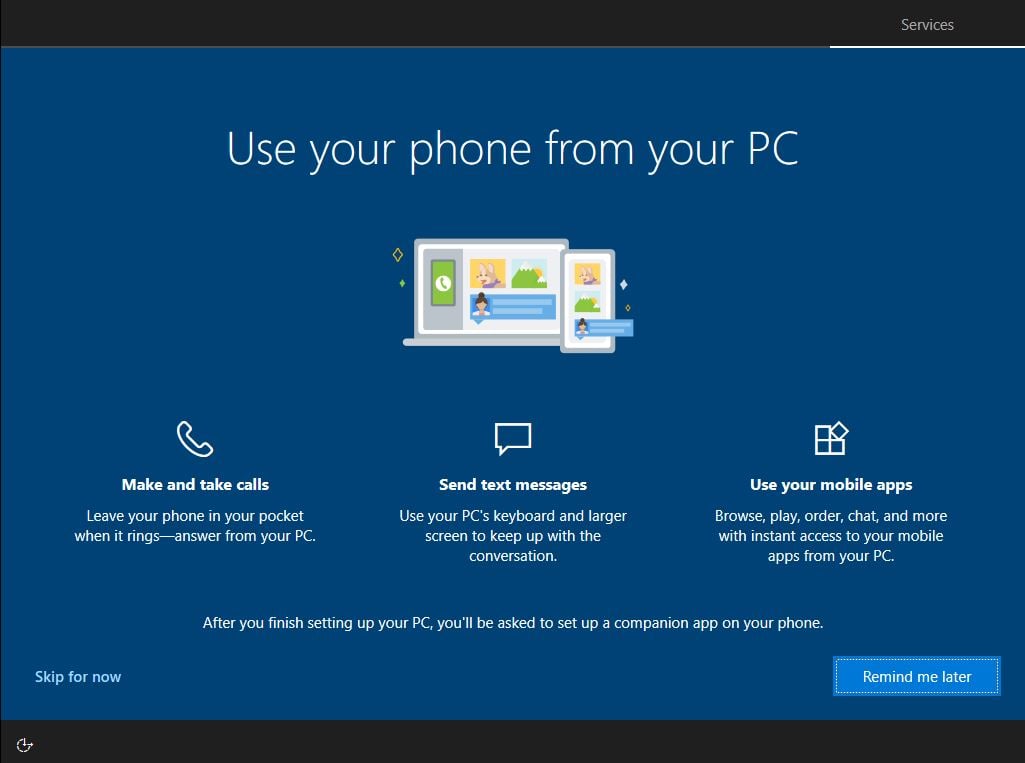
20. Link your phone. You can set it up later by clicking on “Skip for now”
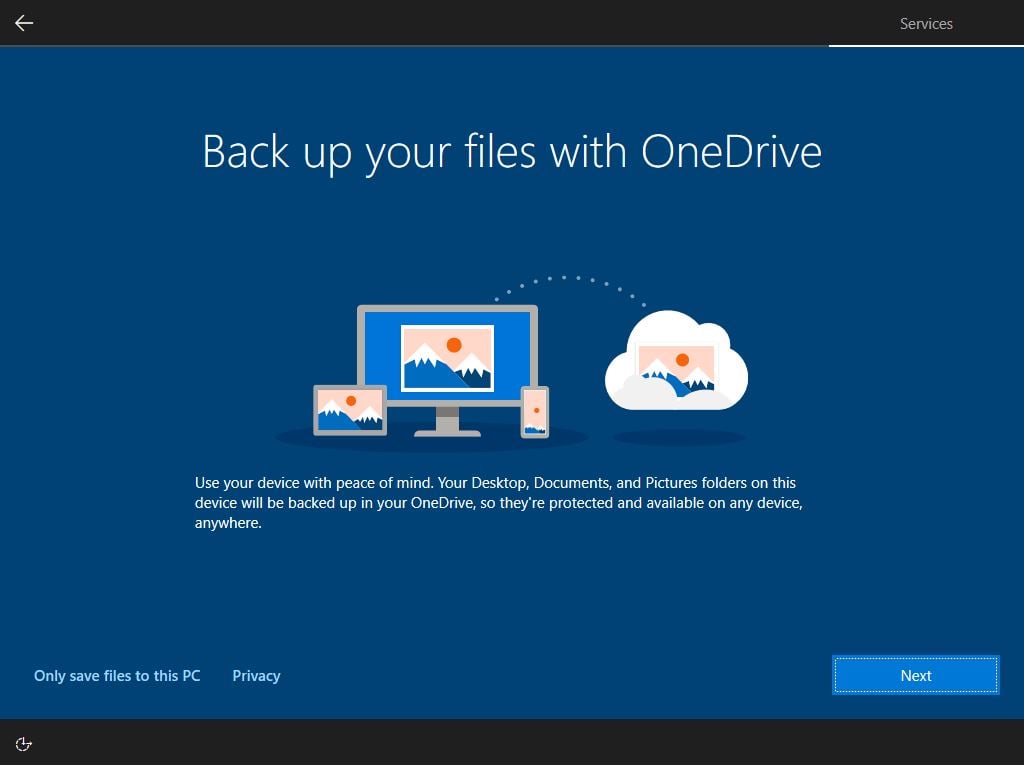
21. Cloud backups. You can set it up later by clicking on “Only save files to this PC”
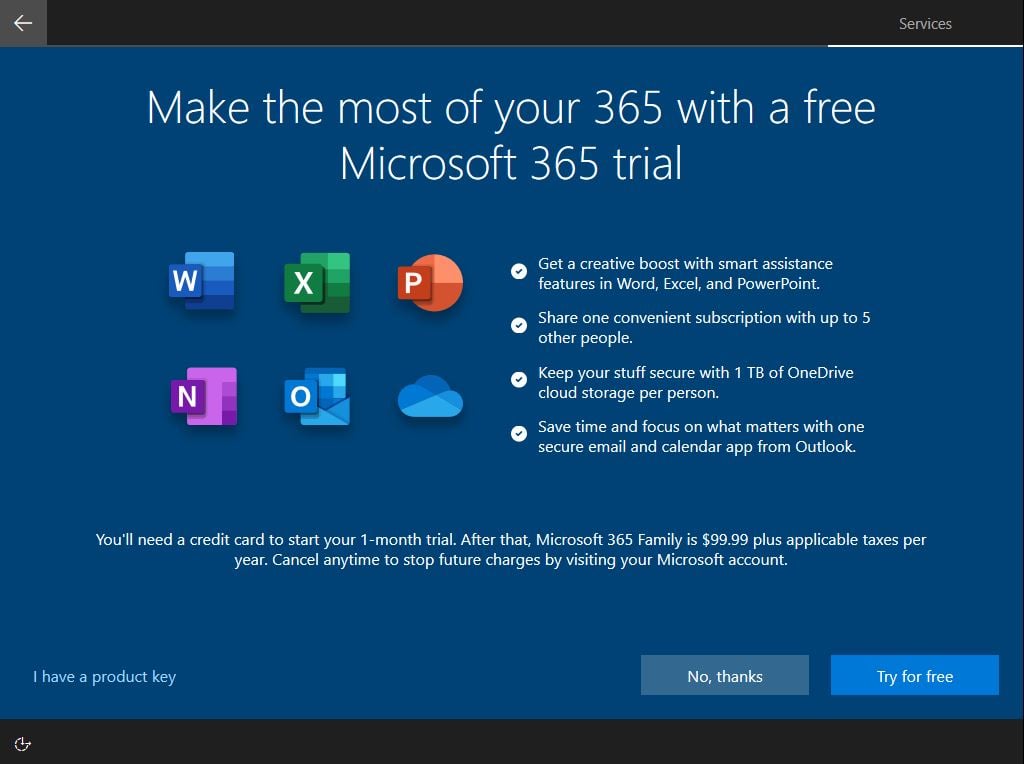
22. Microsoft 365 subscription offer. You can set it up later by clicking on “No, thanks”
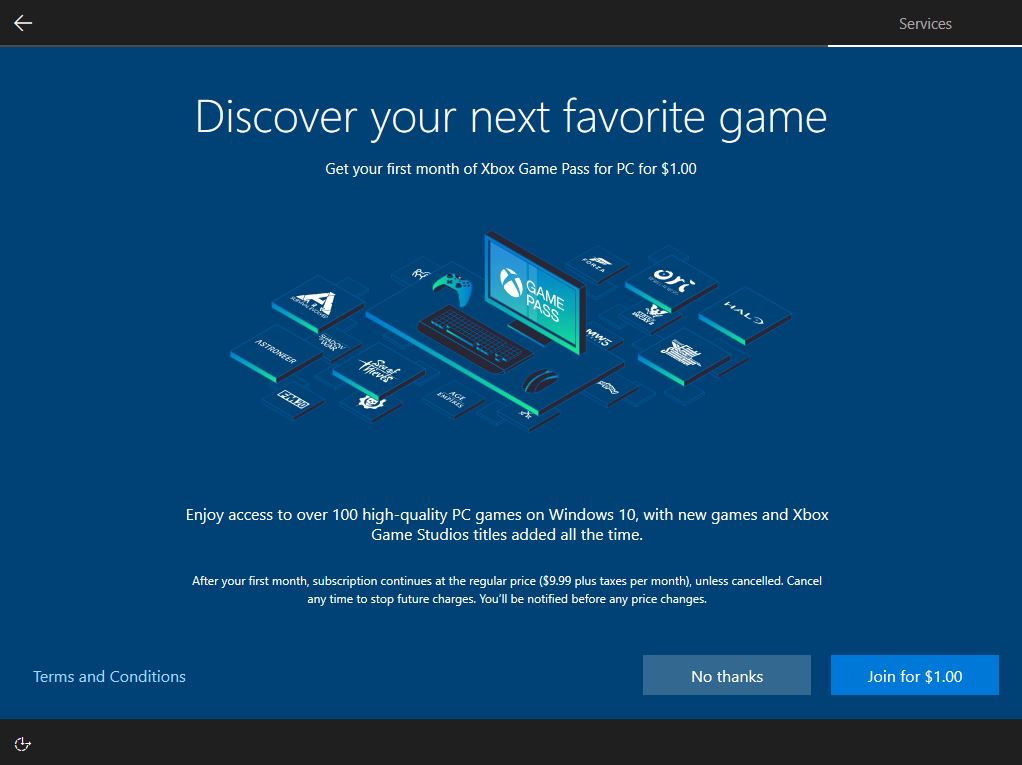
23. Gamers’ offer. You can set it up later by clicking on “No thanks”
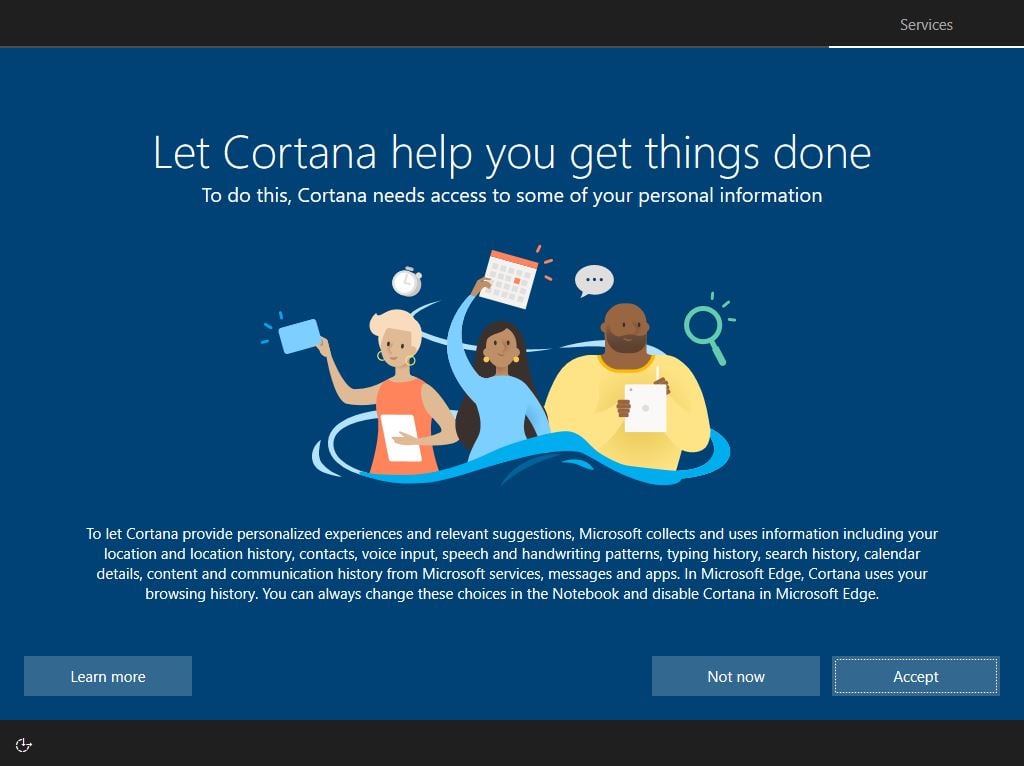
24. Enable/disable Cortana. You can set it up later by clicking on “Not now”
25. All set! Congratulations