Windows Server 2016 comes in 3 main flavors:
Essentials (2 core)
Standard (16 core)
Datacenter (16 core)
You can also buy 32 core licenses:
Standard (32 core)
Datacenter (32 core)
If you need a product license key, check our bargain prices:
shop.recycled-software.com/product-category/windows-server/windows-server-2016
System Requirements for Windows Server 2016 | Microsoft Docs
Microsoft ignore the Essentials version in their comparison chart:
Windows Server 2016 Products and Editions | Microsoft Docs
The main thing to remember about Essentials is it has built-in 25 user/50 device client access licenses, so you don’t need to buy RDS CALs.
Clean full install step-by-step
1. Download a free trial of 2016 Essentials or 2016 Standard/Datacenter from Microsoft:
Try Windows Server 2016 on Microsoft Evaluation Center
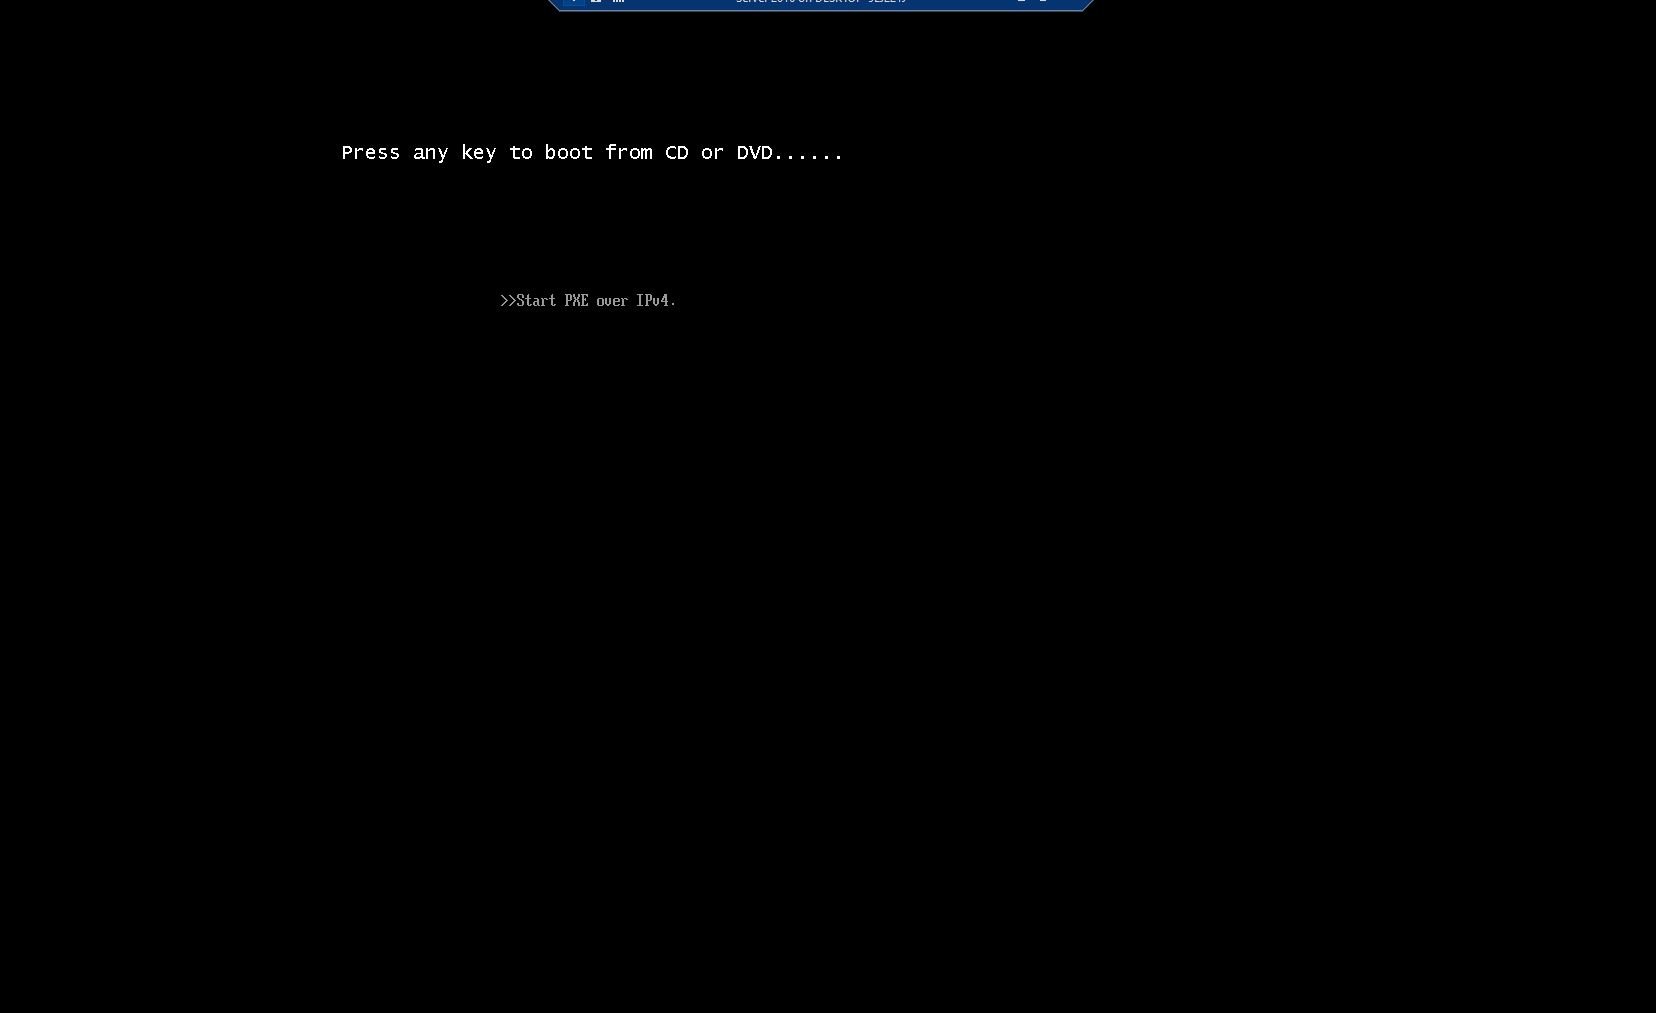
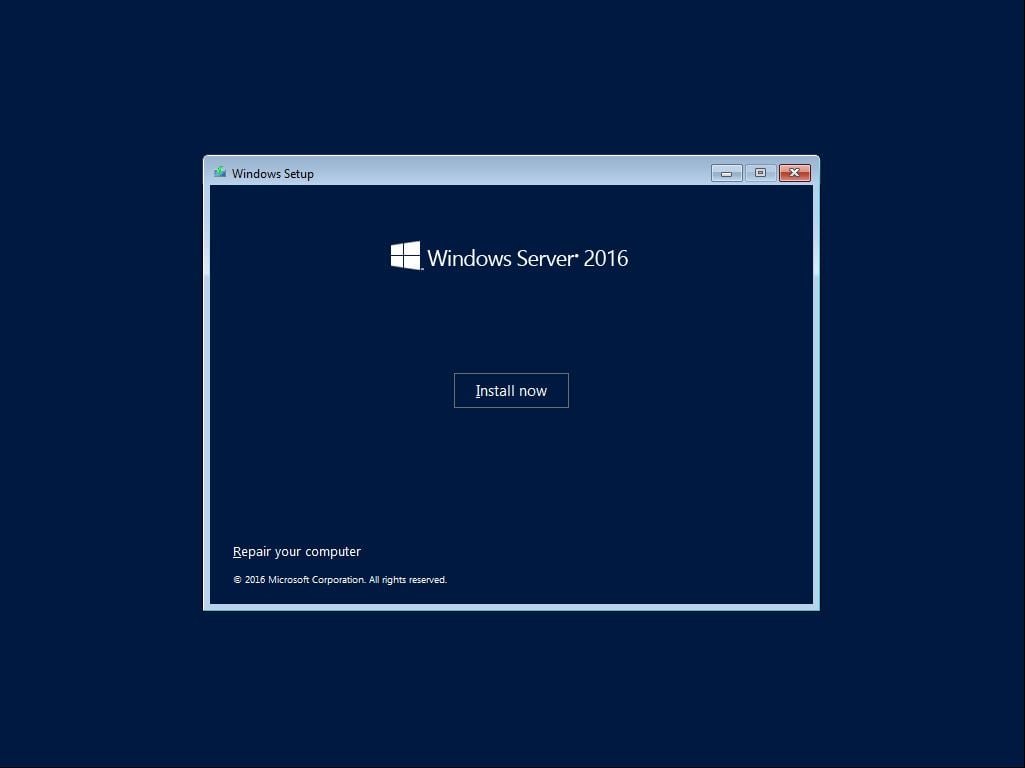
2. Burn the ISO file to DVD. Insert the DVD and boot from it (may require setting DVD player to 1st boot device).
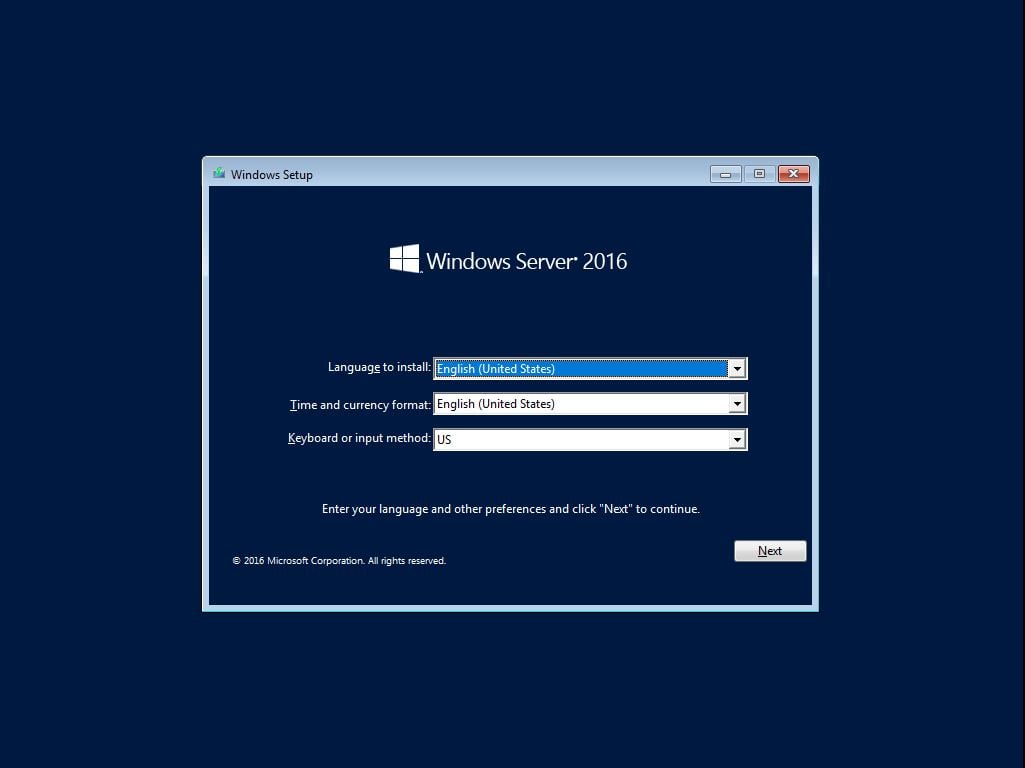
3. At the first screen, select your preferences from the 3 dropdowns. Click “Next”.
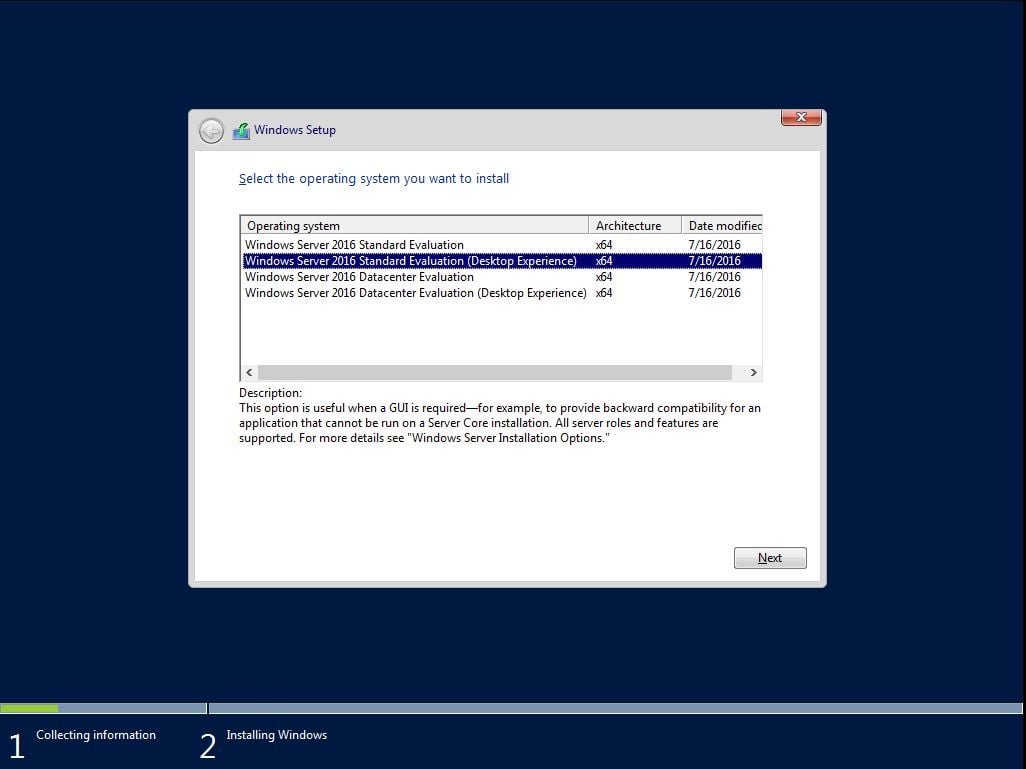
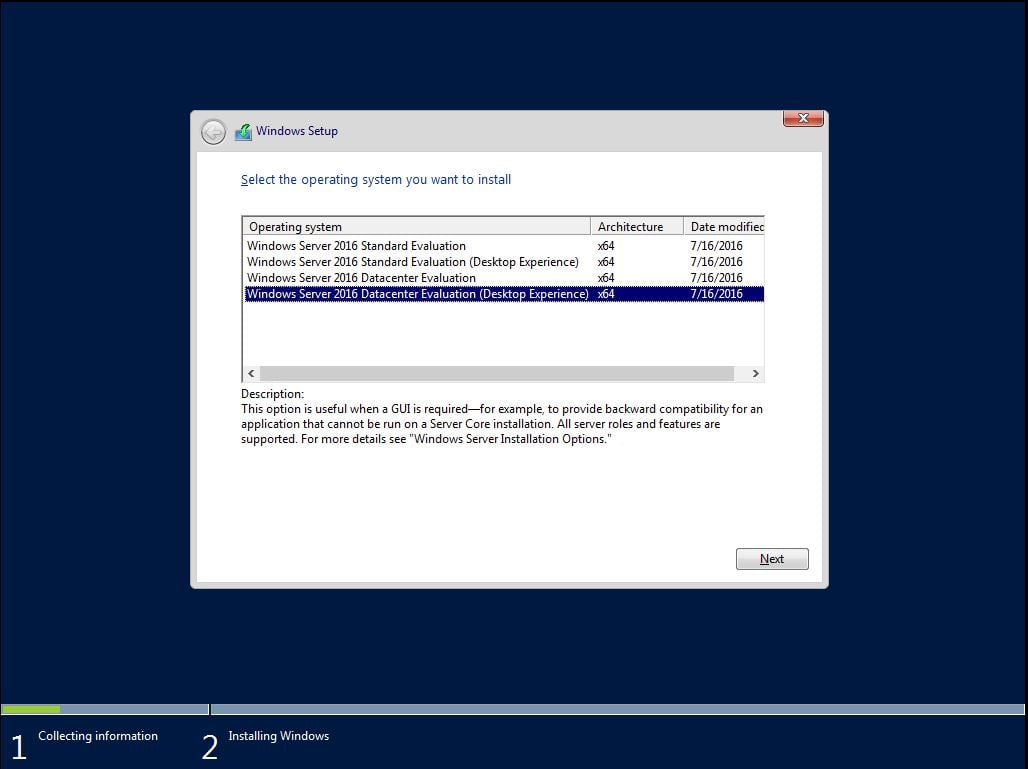
4. We recommend selecting the desktop experience for whichever flavor you choose to install.
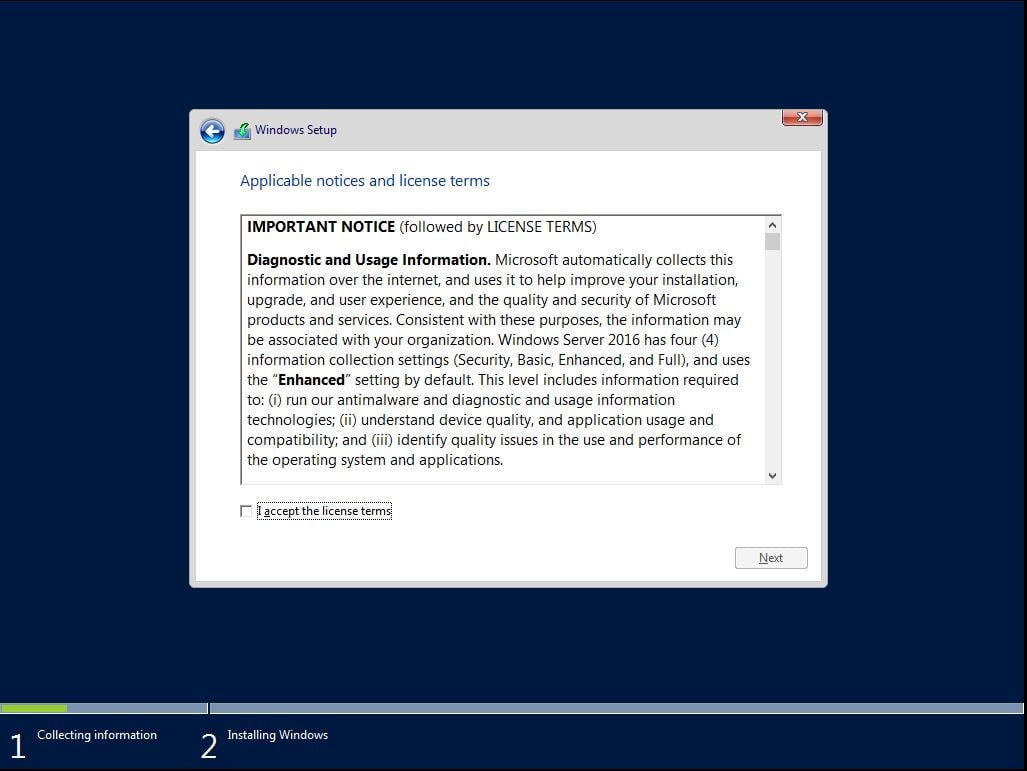
5. Accept the license terms and click “Next”.
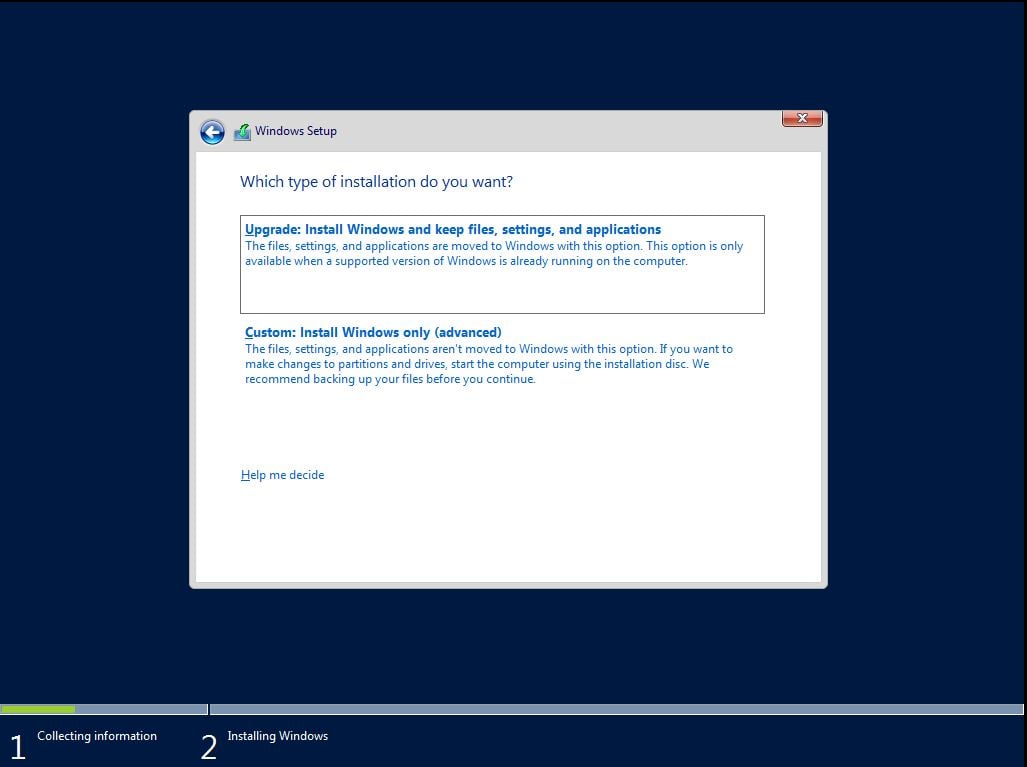
6. Select “Custom: Install Windows only”.
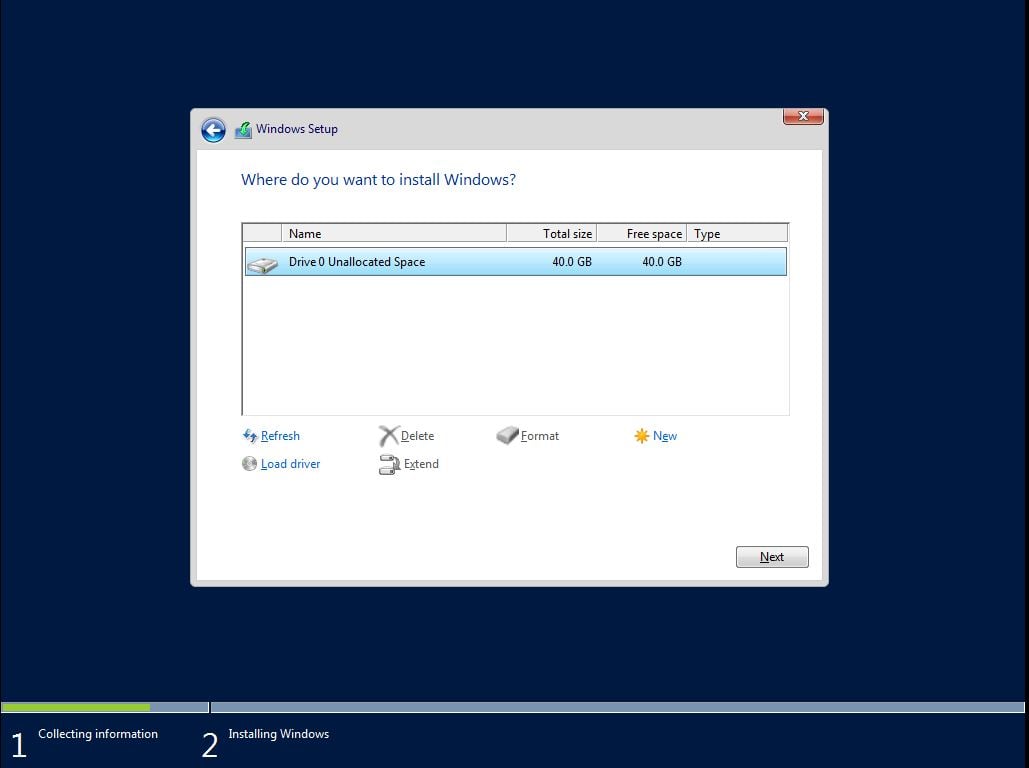
7. Select the drive to install into. In this example there is a single unpartitioned drive. Click “Next”.
8. Setup automatically creates a new partition filling the entire disk space. Alternatively you could have selected “New” at the previous step to create a disk partition sized to your requirement.
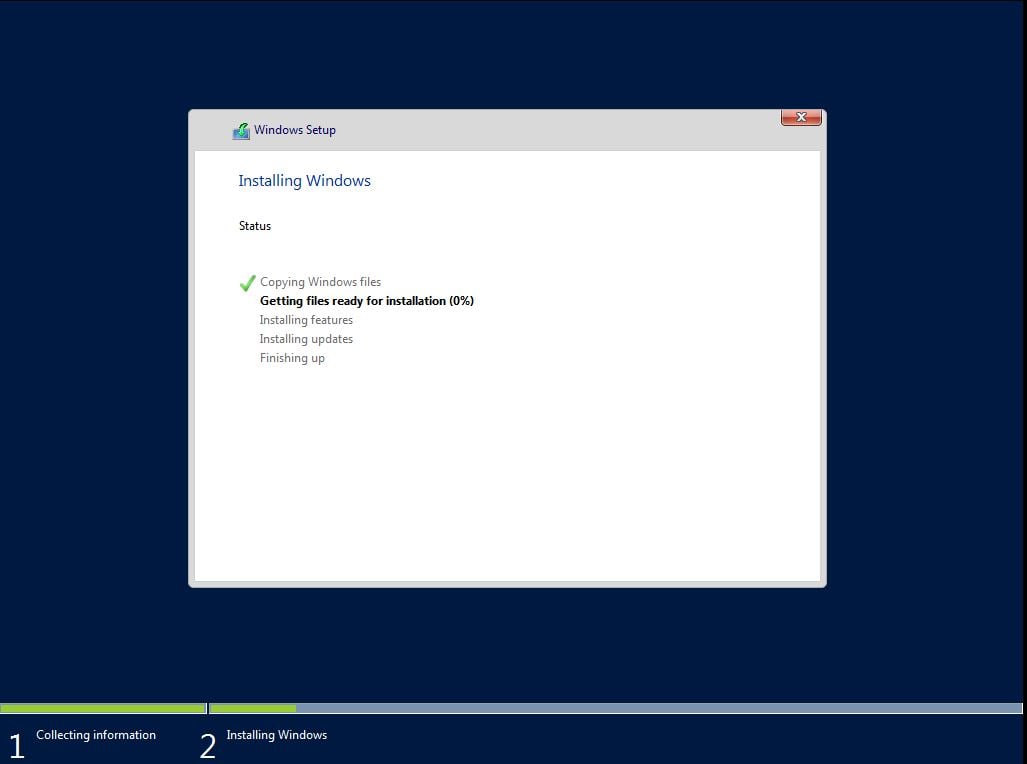
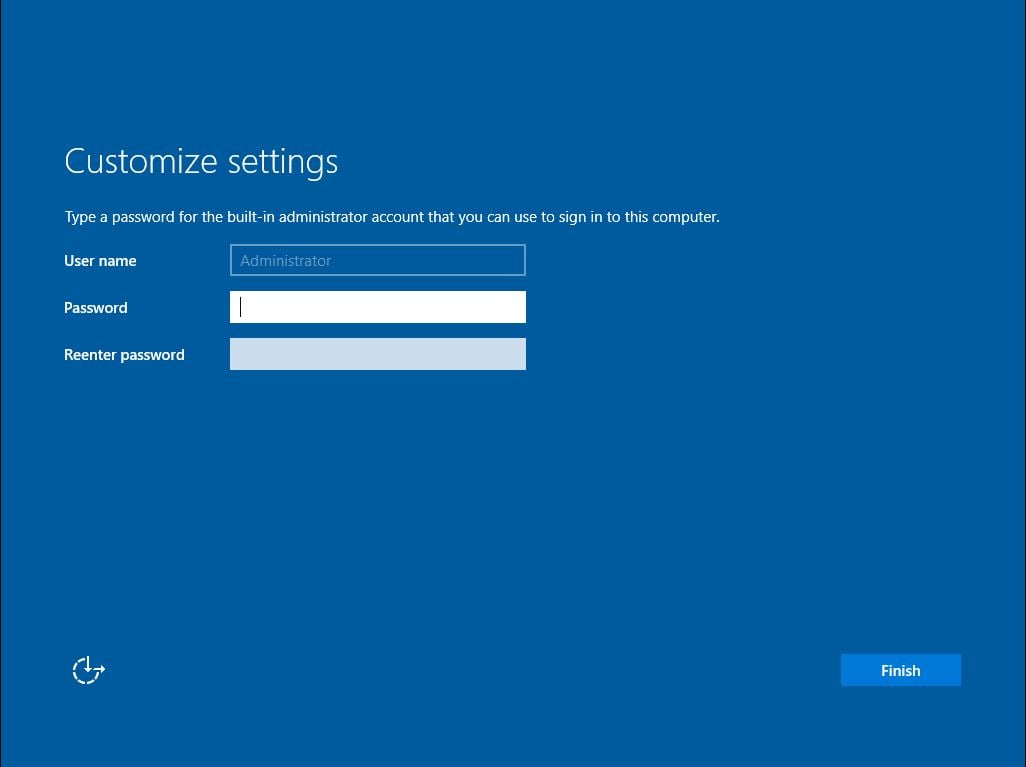
9. After a while setup reboots several times and you reach the Administrator password page. Create a strong password. Click “Finish”.
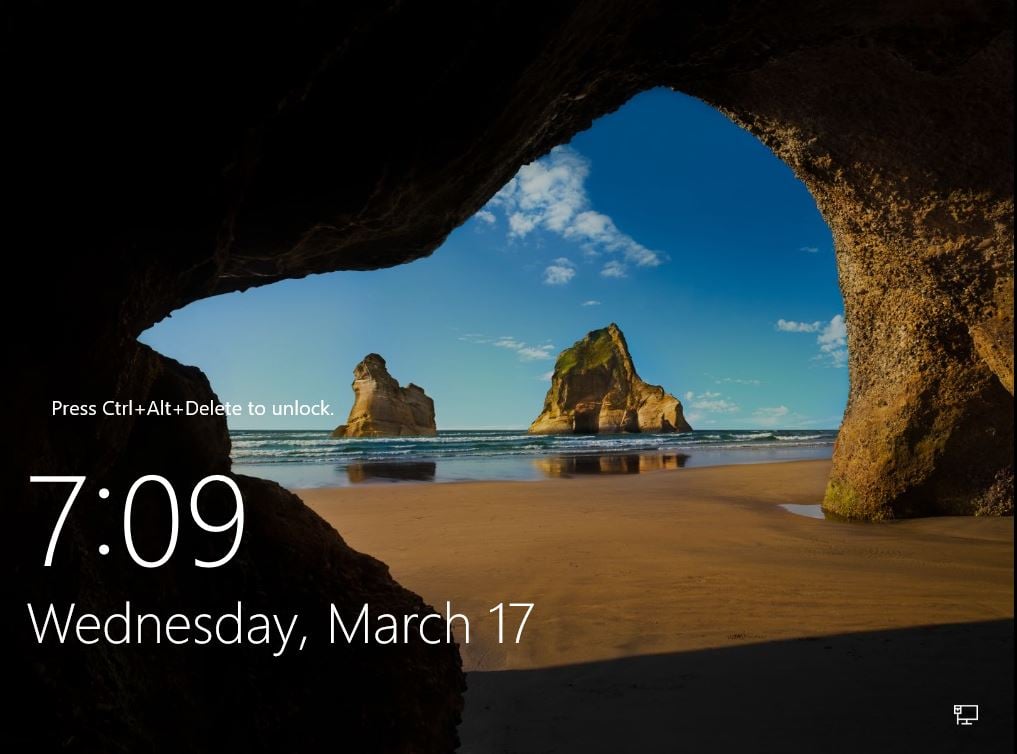
10. Press Ctrl+Alt+Delete
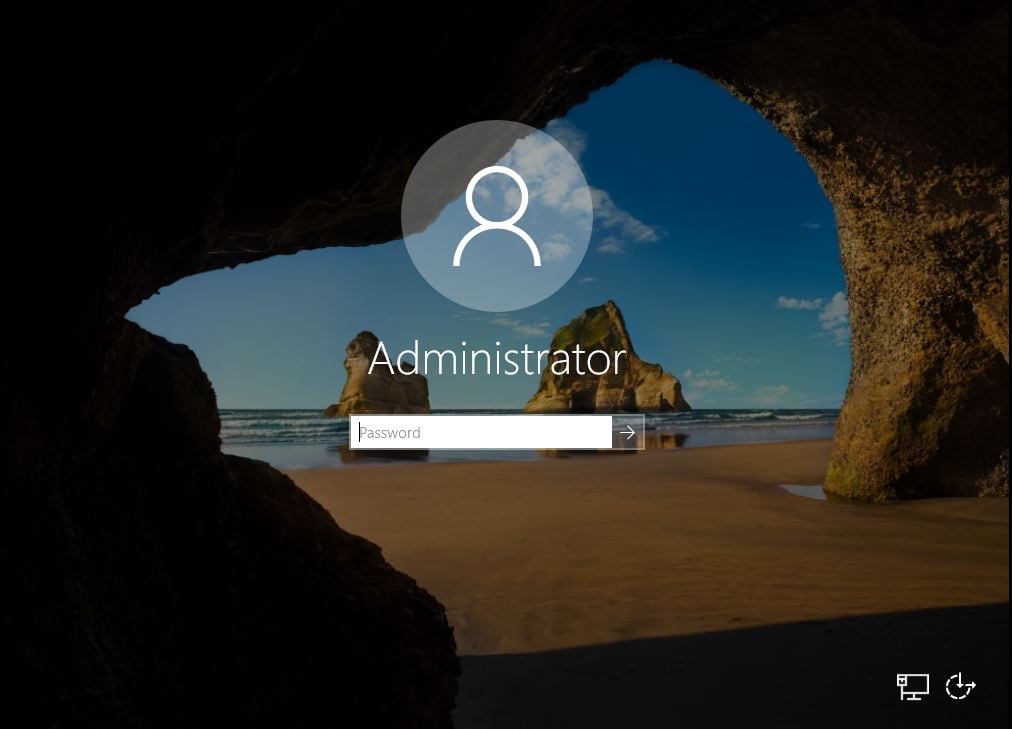
11. Login to the Administrator account with your newly created password.
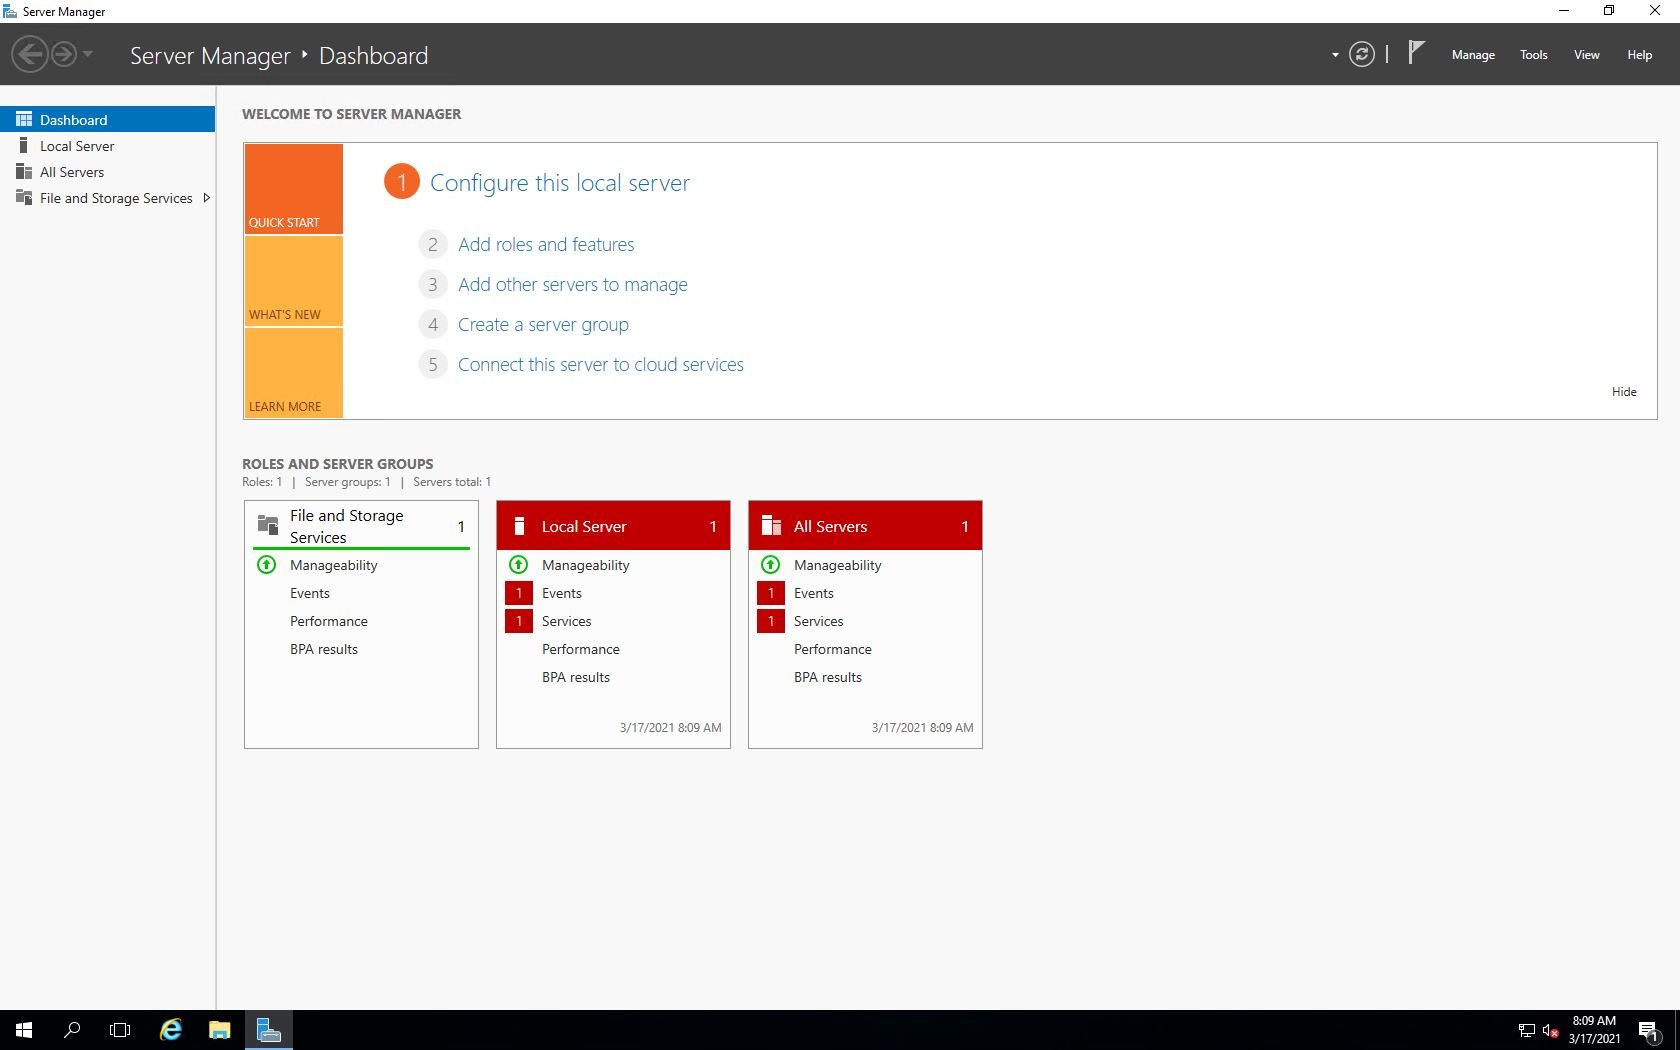
12. Server Manager starts automatically on first login. From here you can begin configuring your new server.


